
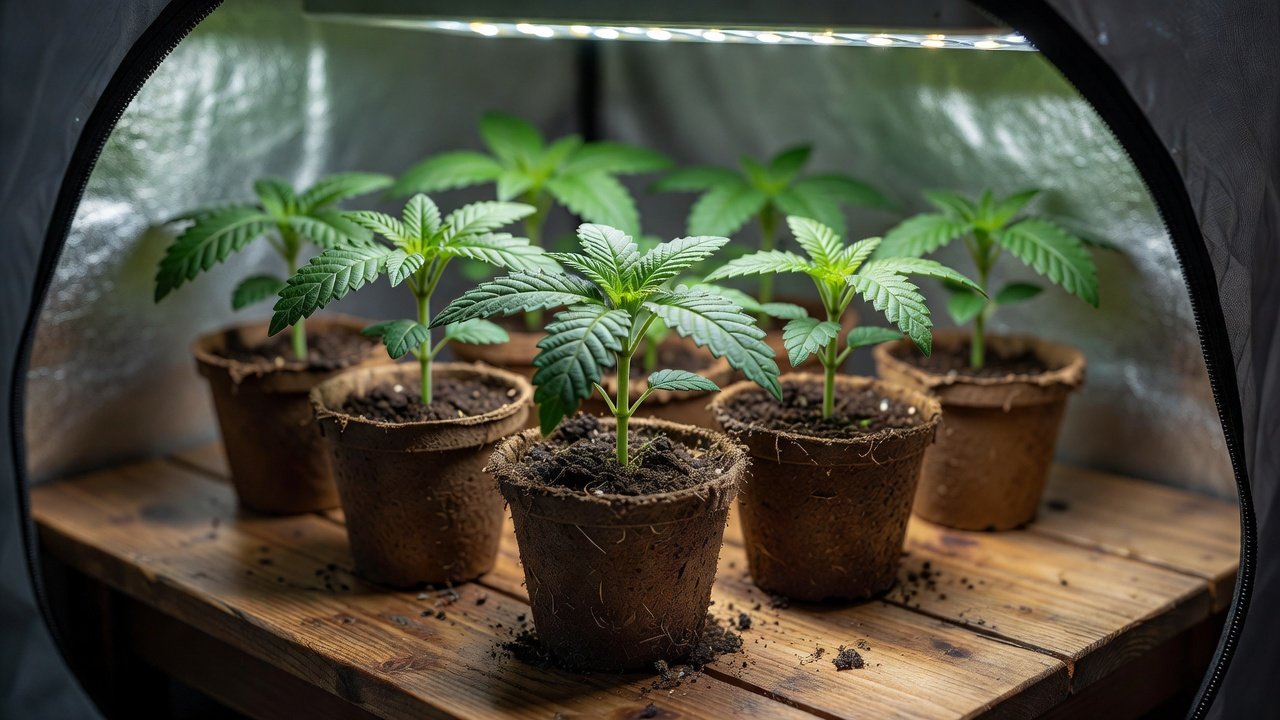
Introduction to Transplanting Cannabis Seedlings
Starting cannabis plants from seed is one of the most rewarding experiences for home growers, especially those new to cultivation in small indoor spaces. Easy cannabis seeds germinate quickly, but the critical next step is transplanting seedlings successfully without causing undue stress to their delicate root systems. This guide provides a complete, step-by-step approach tailored for beginners in 2026, focusing on techniques that maximize survival and promote healthy growth from the outset.
Transplant shock can stunt development or even kill young plants if not handled properly. By understanding timing, preparation, and gentle handling, first-time growers can avoid common pitfalls. Whether you are working with a closet grow or a modest tent setup, these methods emphasize minimal disturbance and optimal conditions for robust root establishment. For example, a beginner using a 2×2 foot tent might start with three seedlings in solo cups and plan transplants around day 12, watching for the first serrated leaves to signal readiness.
Recognizing the Ideal Transplant Window
Timing is everything when moving seedlings. Most experts recommend transplanting once seedlings have developed their first set of true leaves, typically 10 to 14 days after germination. At this stage, roots have established enough to handle movement but remain small enough to minimize trauma. Waiting too long risks root binding in starter containers, while moving too early leaves fragile plants vulnerable.
Monitor growth daily in indoor environments where light and temperature remain consistent. Seedlings ready for transplant usually stand 2 to 4 inches tall with strong stems. Avoid transplanting during periods of high heat or low humidity, as these factors increase stress. For beginners using easy cannabis seeds, this window aligns perfectly with their rapid early development patterns. A practical example is checking each morning: if the stem feels firm and the cotyledons have fully opened, prepare your supplies that afternoon rather than rushing the process.
Preparing Soil and Choosing the Right Pots
Quality soil preparation forms the foundation of successful transplantation. Use a light, well-aerated potting mix designed for seedlings, enriched with gentle organic nutrients but free from heavy fertilizers that could burn tender roots. Incorporate perlite or vermiculite at a 20-30% ratio to improve drainage and oxygen flow, which is essential for indoor grows where containers limit natural aeration.
Pot sizing plays a key role in small spaces. Start seedlings in 4-inch biodegradable pots or solo cups, then move to 1-gallon fabric pots for the next phase. This gradual increase prevents overwatering issues common in oversized containers. Always ensure pots have ample drainage holes. For authoritative guidance on soil health and environmental considerations, refer to resources from epa.gov. A concrete tip for beginners is to pre-mix your soil the night before: blend two parts seed-starting mix with one part perlite, moisten until it holds together when squeezed but crumbles easily, and let it rest so moisture distributes evenly.
Step-by-Step Transplant Process
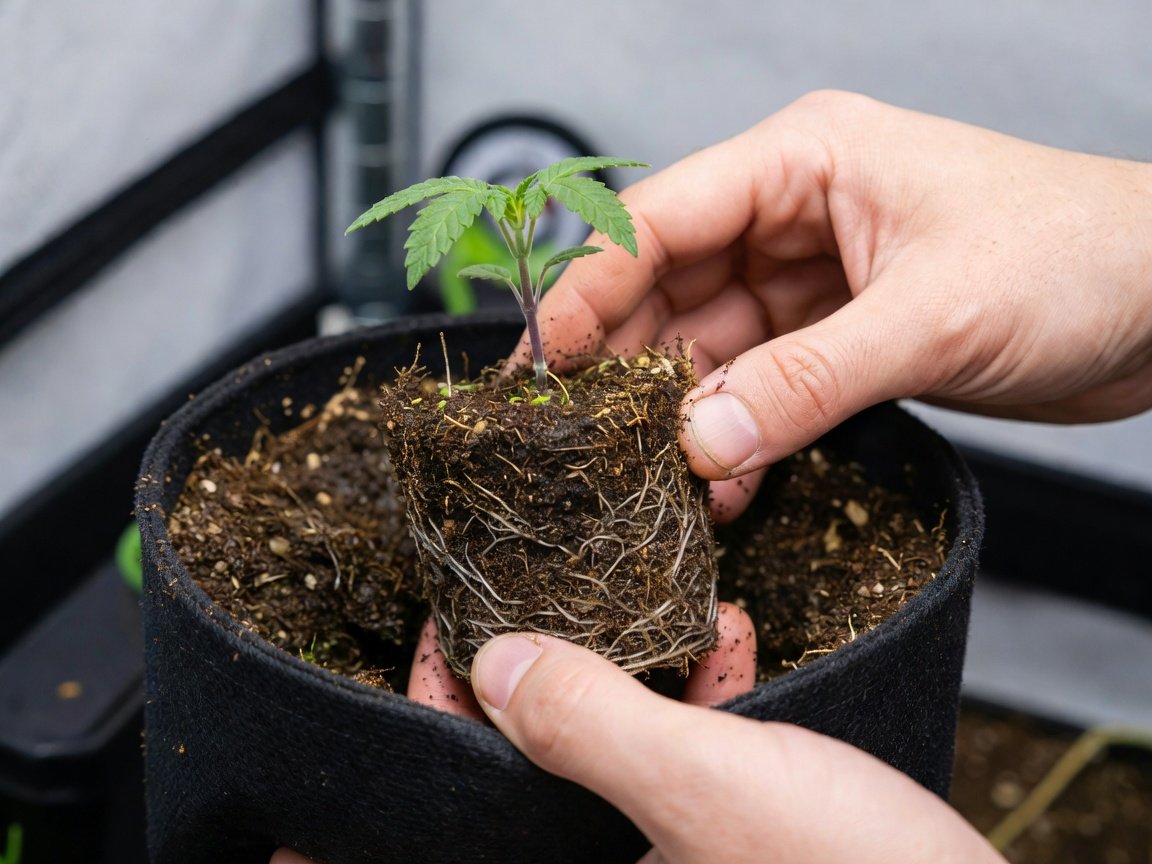
Begin by watering the seedling thoroughly the day before transplanting to keep soil intact around the roots. Prepare the new pot with pre-moistened soil, creating a hole slightly larger than the current root ball. Gently squeeze the starter container sides to loosen the plant, then invert it while supporting the stem and soil with your hand.
Lower the seedling into the new hole at the same depth as before, backfill with soil, and lightly tamp down to remove air pockets. Water immediately with room-temperature water to settle the medium. Perform this process under low light to reduce transpiration stress. Following these steps ensures roots experience minimal disruption, a technique proven effective for cannabis growing for beginners. In practice, label each new pot with the transplant date and seed strain so you can track recovery over the next week.
Pot Sizing Strategies for Compact Indoor Setups
In limited indoor areas, strategic pot progression supports both plant health and space efficiency. After the initial 1-gallon move, plan a final transplant to 3- or 5-gallon containers once plants reach 12-18 inches. This staged approach accommodates vertical growth without overwhelming small grow tents or shelves.
- Monitor root visibility through drainage holes as a cue for upsizing.
- Choose breathable fabric pots to enhance root pruning and prevent circling.
- Account for plant spacing—leave at least 12 inches between pots in tight setups.
Proper sizing reduces the frequency of future moves, lowering overall stress on developing plants. For instance, in a 3×3 tent, four plants in 3-gallon fabric pots fit comfortably with room for airflow between them, allowing each to develop a full canopy by week six.
Aftercare Practices to Enhance Survival Rates
Post-transplant care focuses on recovery and steady growth. Maintain temperatures between 70-78°F and humidity at 60-70% for the first week. Provide gentle airflow with a small fan but avoid direct drafts on seedlings. Resume full lighting gradually over 48 hours, starting at reduced intensity.
Water sparingly until new growth appears, allowing the top inch of soil to dry between sessions. Introduce a mild root stimulator if desired, but prioritize observation over intervention. Track progress daily, noting any wilting that typically resolves within 3-5 days as roots adapt. A helpful routine is to check soil moisture with your knuckle each evening and mist the leaves lightly if humidity drops below 55 percent.
Conclusion and Long-Term Success Tips
Mastering seedling transplantation sets the stage for thriving cannabis plants throughout the grow cycle. By following these stress-free methods, beginners in small indoor spaces achieve higher survival rates and stronger yields. Consistent practice with easy cannabis seeds builds confidence and expertise. For additional scientific insights on plant stress responses, consult materials available at ncbi.nlm.nih.gov. With patience and attention to detail, your home cultivation journey will flourish season after season. Keep a simple grow journal noting transplant dates, pot sizes, and recovery observations to refine your technique over multiple cycles.