
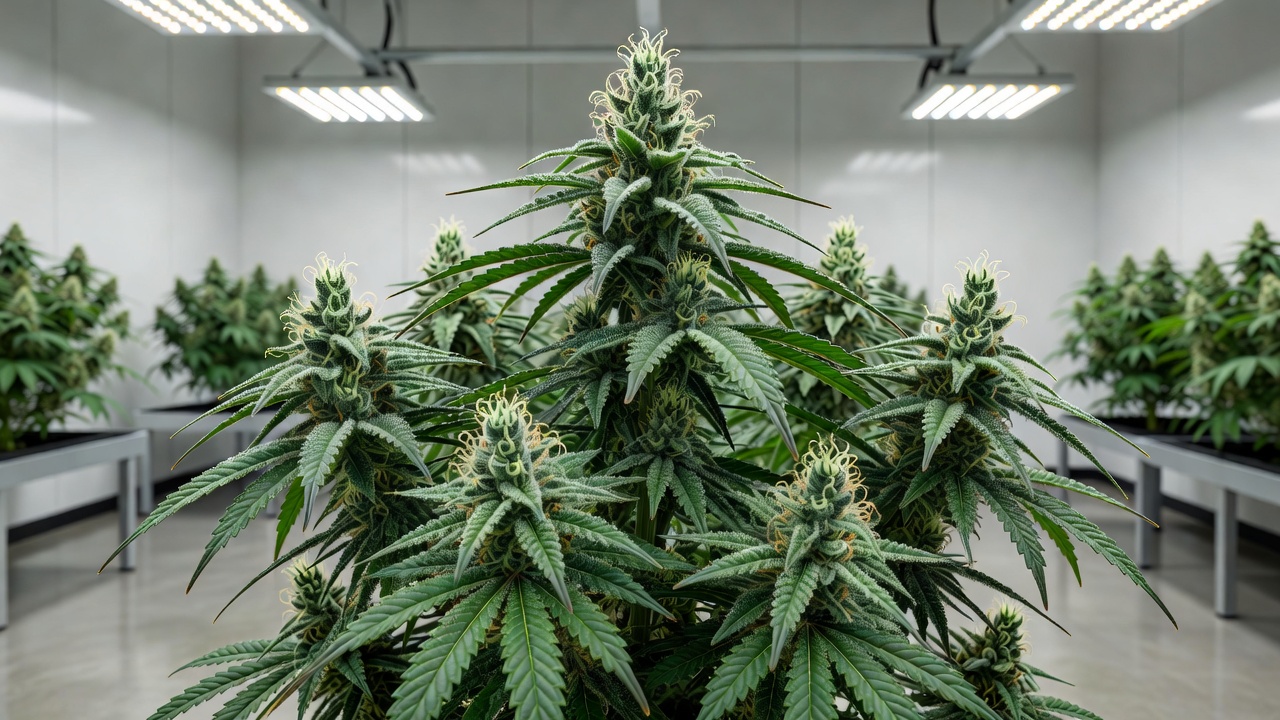
Autoflowering cannabis strains have become a favorite among home growers in 2026 thanks to their speed and simplicity. Unlike photoperiod plants, autoflowers transition to flowering based on age rather than light changes, often completing their cycle in 8 to 12 weeks. This guide covers every key growth stage with visual descriptions, precise timing, and actionable tips to help seed buyers and cultivators get the most from their autoflower seeds. In 2026, many hobbyists report turning around three to four full cycles per year in small tents or balconies, making these genetics ideal for beginners and space-limited growers alike.
Germination: Starting Your Autoflower Journey
Germination marks the first critical phase, typically lasting 1 to 5 days. Healthy autoflower seeds swell and crack open, sending out a white taproot. For best results in 2026, use the paper towel method or direct planting in a moist, light medium like rockwool or high-quality soil. Maintain temperatures between 70-80°F and humidity around 70-80%. Growers often place seeds between two damp paper towels inside a sealed container or plastic bag, checking twice daily to ensure the medium stays moist but not wet. Once the taproot emerges to about ¼ inch, transfer carefully into the final container to avoid transplant shock later.
Monitor daily for the emergence of the seedling. Avoid handling the delicate taproot. Tip: Choose premium autoflower genetics from reputable breeders to ensure high germination rates above 90%. Overwatering at this stage is a common mistake—keep the medium damp but never soggy. A practical example involves using a spray bottle to mist the surface lightly each morning. If using rockwool cubes, pre-soak them in pH 6.0 water and insert the seed point-down at ¼ inch depth. Record the date of planting so you can track the exact age of each plant throughout its short life cycle.
Seedling Phase: Establishing the First True Leaves
The seedling stage lasts roughly 1 to 2 weeks. You will see the first round cotyledon leaves followed by the initial serrated true leaves. The plant remains small, usually under 4 inches tall, with a thin stem. Provide gentle 18-24 hours of light daily using efficient LED fixtures popular in modern 2026 setups. Position lights 24–30 inches above the canopy at 20–30% intensity during the first week, then gradually lower them as the plant strengthens.
Adjust care by keeping nutrients minimal—plain pH-balanced water at 6.0-6.5 is sufficient. Watch for yellowing or stretching, which signals light distance issues. Practical tip: Use a magnifying loupe to inspect for early pests and maintain gentle airflow to strengthen stems. Many growers set up a small oscillating fan on low speed to simulate outdoor breezes, helping develop thicker stems from the start. If seedlings stretch excessively, raise light intensity slightly or lower the fixture by a few inches while monitoring leaf temperature to prevent heat stress.
Vegetative Growth: Rapid Development and Structure Building
Vegetative growth in autoflowers spans weeks 2 to 5, during which the plant can double or triple in size. Expect bushy foliage, multiple node sites, and strong root expansion. Visual cues include vibrant green leaves and sturdy branching. Many 2026 growers use smart sensors to track VPD and optimize conditions. Aim for daytime temperatures of 72–78°F and nighttime drops of 5–8 degrees, with relative humidity starting at 60–65% and tapering downward.
Light intensity should increase gradually while keeping the schedule at 18/6 or 20/4. Feed lightly with nitrogen-rich nutrients but stay under recommended doses since autoflowers dislike heavy feeding.
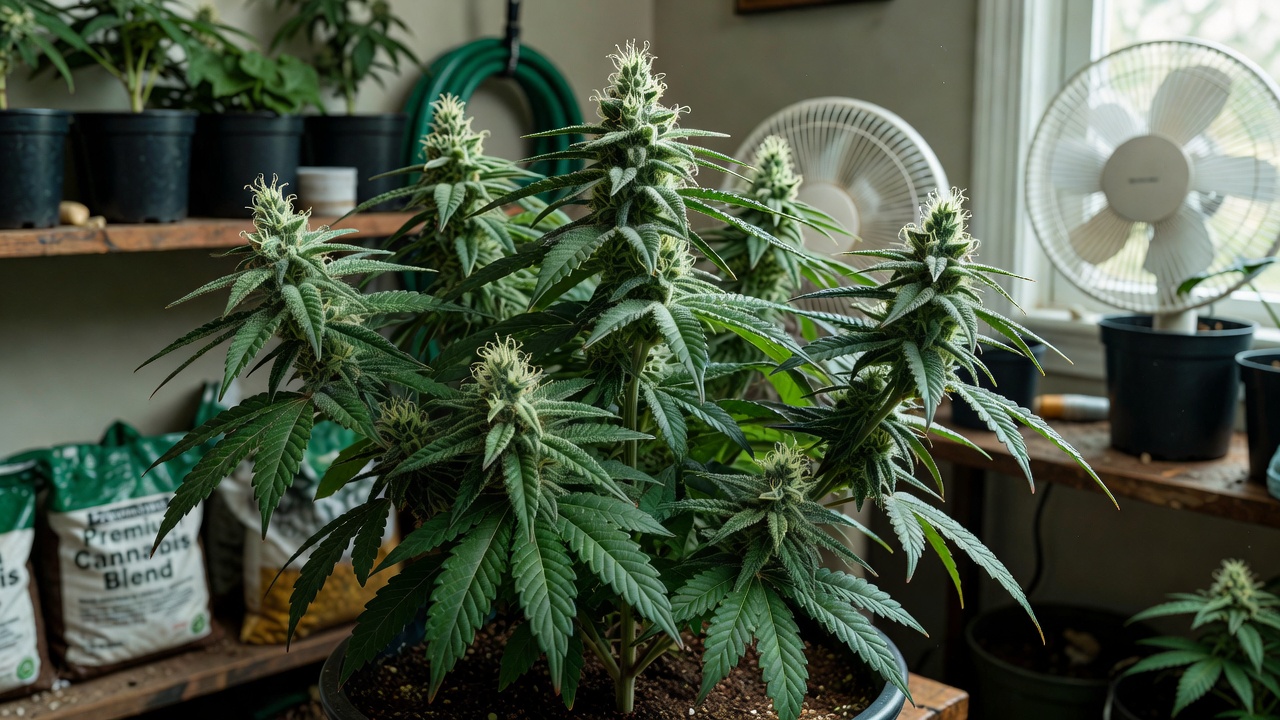
Tip: Top or train plants early if desired, but only if the strain responds well—many modern autos thrive with minimal intervention for faster cycles. For example, low-stress training by gently bending and tying down branches can expose more bud sites without the recovery time required after topping. Monitor EC levels below 1.2 during early vegetative weeks and increase only if leaves show no signs of burn. Water when the top inch of soil feels dry, typically every 2–3 days in fabric pots.
Transition to Flowering: The Automatic Shift
Around weeks 3 to 6, autoflowers naturally enter pre-flowering without any light schedule change. Look for the appearance of pistils at nodes and slight stretching. This phase lasts 1 to 2 weeks as the plant shifts energy toward bud production. Stems may elongate 20–30% during this window, so ensure adequate vertical space and support netting if growing multiple plants close together.
Monitor progress closely with weekly photos. Reduce nitrogen and introduce bloom nutrients slowly. Key tip for seed buyers: Select fast-flowering autoflower varieties bred for 2026 that minimize this transition stress, leading to higher overall yields in compact spaces. A common practical adjustment is switching to a bloom formula containing higher phosphorus and potassium while keeping overall strength moderate. Observe leaf color daily; any darkening or clawing indicates overfeeding that should be corrected immediately by flushing with plain pH-adjusted water.
Flowering and Bud Development: Peak Production
Flowering dominates the final 4 to 7 weeks. Buds swell, trichomes turn milky then amber, and aromas intensify. Visual descriptions include dense colas, resin-covered leaves, and possible purple hues in certain genetics under cooler night temperatures. Maintain consistent airflow and consider adding a dehumidifier during late flower when humidity naturally rises from plant transpiration.
Maintain 12-18 hours of light, lower humidity to 40-50% to prevent mold, and flush with plain water in the last 10-14 days. Practical adjustment: Check pH and EC levels frequently; many cultivators now use automated systems for precision in 2026 grows. For instance, inline EC monitors can alert growers via smartphone when nutrient strength drifts outside the safe 1.0–1.4 range. Defoliate only lower fan leaves that receive little light to improve airflow around developing buds without stressing the plant excessively.
Harvest Time: Timing for Maximum Potency
Harvest readiness occurs when 70-90% of pistils darken and trichomes show 10-20% amber under a microscope, usually at 8-12 weeks total. Cut plants at the base during the dark period for optimal results. Use clean, sharp scissors and work in a cool, dark room to preserve terpenes. Hang whole plants or large branches upside down for the initial drying phase.
Dry in a controlled environment at 60-70°F and 45-55% humidity for 7-14 days, then cure in jars. Tip: Track your specific strain’s timeline from seed purchase to refine future cycles and achieve consistent, faster results with each new autoflower seed batch. Burp curing jars daily for the first week, then every few days thereafter, aiming for a final moisture content that produces a crisp snap when stems are bent. Label each jar with strain name, harvest date, and observed effects to build a personal growing log over multiple seasons.
Conclusion: Optimizing Your 2026 Autoflower Success
Understanding these stages allows growers to anticipate needs and intervene early for healthier plants. By focusing on precise monitoring, light genetics, and measured care adjustments, you can enjoy quicker turnarounds and superior harvests. Start with quality autoflower seeds and apply these insights to elevate your cultivation experience this year. Consistent record-keeping, attention to environmental parameters, and patience during each phase combine to deliver reliable results even for first-time cultivators working within limited indoor footprints.