
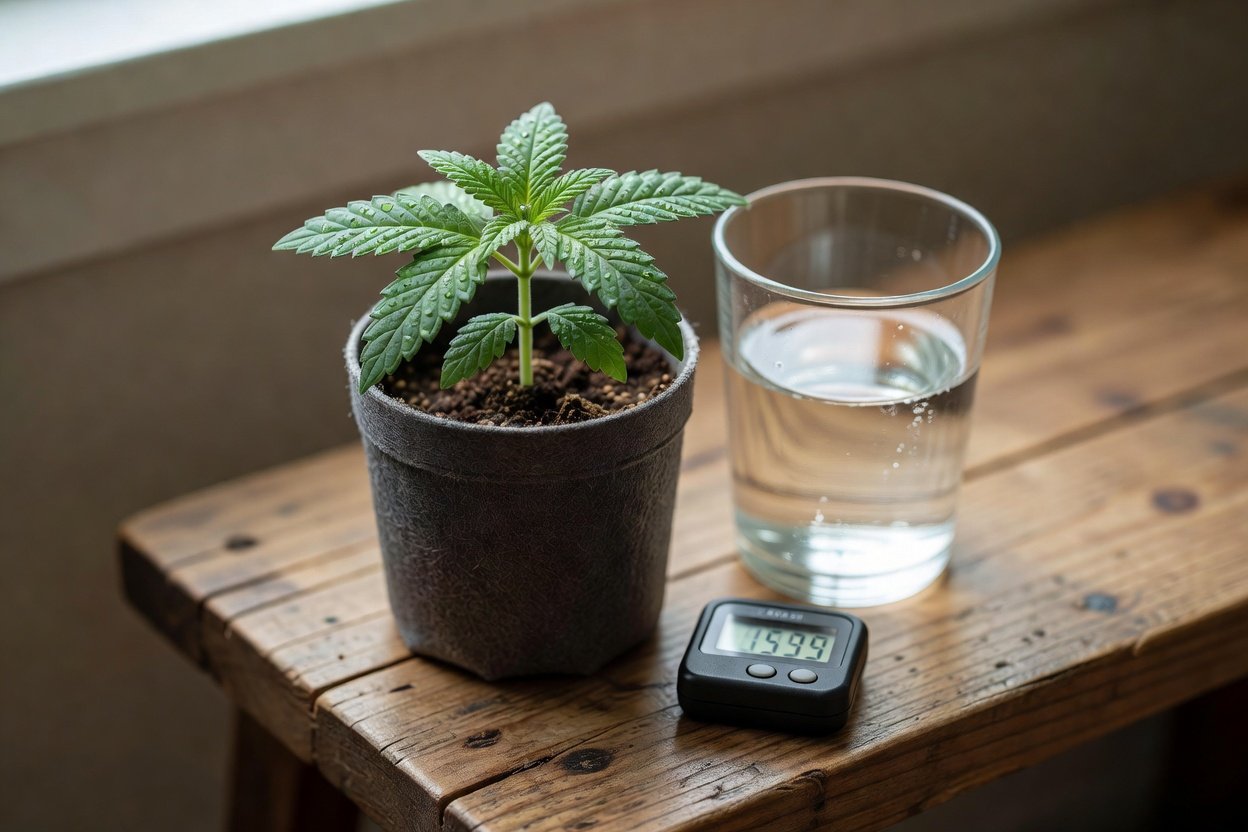
Most first grows stumble for reasons that have nothing to do with fancy gear. Water is one of the quieter ones. A seedling does not care whether the jug says premium. It cares whether the water is free of a disinfectant that irritates roots and soil life, whether dissolved solids sit in a sensible range, and whether a few basic minerals are still there. Plenty of home growers finish a clean first cycle on ordinary tap water. Others need a carbon filter or reverse osmosis because their supply is hard, heavily chloraminated, or loaded with sodium. The useful question is not whether tap water is bad. It is what is in your water, and which simple fix matches that problem.
This guide stays on source water. It is not a watering calendar, a root-rot manual, or a pH and EC lesson. Those topics only help after the water itself is suitable. If you are still mapping the weeks from sprout to harvest, the cannabis life cycle from seed to harvest is the better companion piece. Here, the job is choosing tap, filtered, or RO water before you fill a watering can.
Can a first grow run on municipal tap water?
Yes, often. Cannabis is not uniquely fragile about household water. If your tap is drinkable, moderately soft to moderately hard, and disinfected with free chlorine rather than chloramine, many beginners can use it from the faucet for a soil grow. Soil already holds calcium, magnesium, and a buffer of organic matter, so a modest mineral load in the water is usually an advantage, not a flaw.
The cases that push people toward filtered or RO water are specific. Very hard water can leave crust on pots and crowd a nutrient mix later. Water that already carries a heavy dissolved load leaves less room for fertilizer. High sodium, which sometimes shows up in softened water or certain wells, is a poorer mineral than calcium. A whole-house softener that swaps calcium and magnesium for sodium is a common beginner trap: the water tastes fine and still stresses plants.
City water reports, often called consumer confidence reports, list disinfectant type, hardness, and notable contaminants. In the United States, utilities publish these under rules overseen by the Environmental Protection Agency’s drinking water program. Read the report before you buy a filter. A small meter and a one-page report will tell you more than a product ad. Well water is a separate case. It is rarely chlorinated, which sounds ideal, until you test for hardness, iron, sulfur, and bacteria. No chlorine is not the same as good grow water.
Chlorine versus chloramine
Both chemicals keep municipal water safe to drink. They are not the same problem in a grow tent. Chlorine, usually added as chlorine gas or hypochlorite, is reactive and unstable. A large share of free chlorine leaves open water as it off-gasses, especially if the water is warm, agitated, or left with a wide surface exposed to air. That is why the old advice to fill a bucket the night before still works in many chlorine-only cities. Residual chlorine at typical drinking-water doses is unlikely to kill an established plant overnight, but it can irritate delicate root tips and slow the living biology in soil or a simple compost tea.
Chloramine is chlorine bound to ammonia. Utilities like it because it lasts longer in pipes, which also means it lasts longer in your reservoir. Sitting overnight, or even for two or three days, does not reliably remove it. Boiling can reduce it, but boiling gallons of irrigation water is a poor routine. Camping drops labeled only for chlorine may do nothing useful against chloramine. Vitamin C, as ascorbic acid or sodium ascorbate, can neutralize both, yet dose and volume matter, and it is easy to turn a simple fix into a chemistry project in week one.
The practical split is this: confirm which disinfectant your utility uses. If the report says free chlorine only, time and air are often enough. If it says chloramine, monochloramine, or chlorine plus ammonia, plan on carbon filtration or a purpose-made neutralizer. The Centers for Disease Control and Prevention explains why utilities use these disinfectants in its guidance on public drinking water disinfection. That context matters. You are removing a residual for plants, not declaring tap water unsafe to drink.
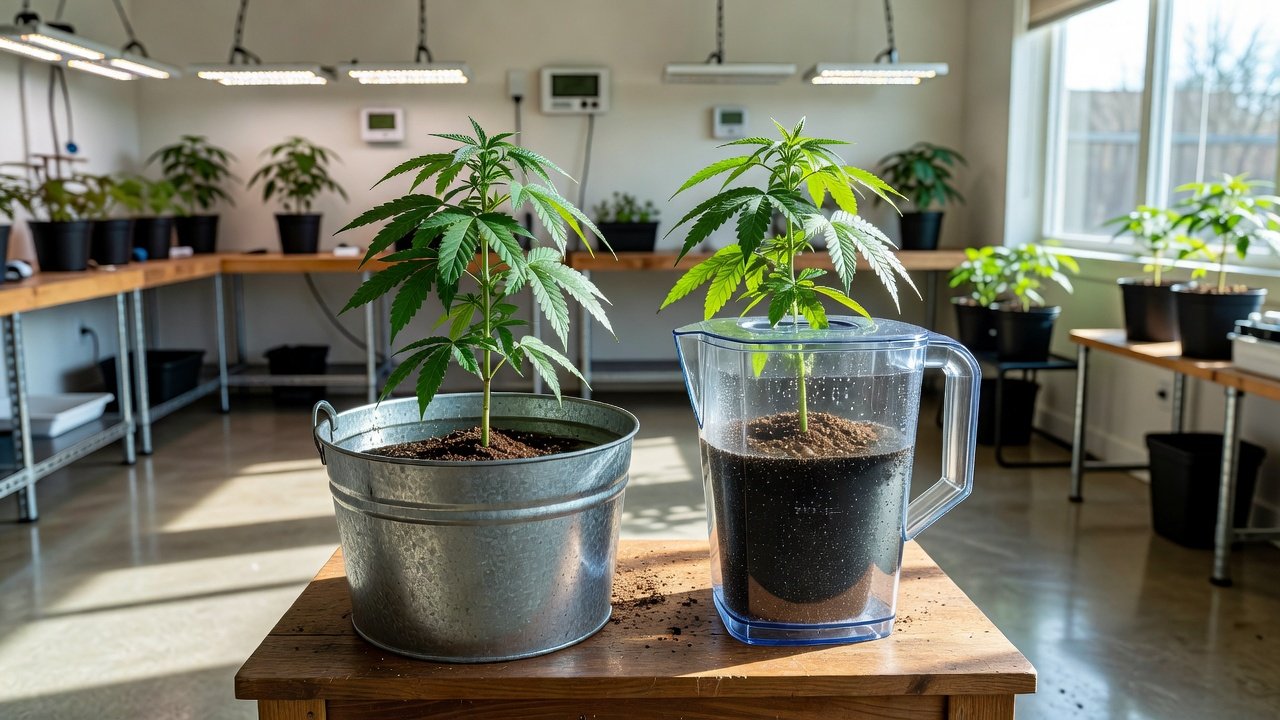
A basic source-water PPM check
PPM here means the total dissolved solids reading from an inexpensive TDS pen, not a full laboratory panel. It is a screening number. It does not name calcium, sodium, nitrate, or metals. It does tell you how crowded the water already is before any nutrient goes in. This is a source check, not a feeding chart and not an EC class.
Rinse the pen, run the tap for half a minute, and test water at room temperature. Write the number down. Test again on another day if you can, because some systems shift with the season. If you already own a filter, compare straight tap with filtered water so you can see what the cartridge actually changed. Do not chase a perfect score. You are sorting the water into a band you can act on.
As a beginner screen, under about 50 to 80 PPM is very low. That is close to rain, distilled, or RO, and it will need minerals if it becomes your only water, especially for seedlings in a light mix. Roughly 80 to 200 PPM is a comfortable tap range for many soil grows, provided the disinfectant is handled and sodium is not the main ingredient. From about 200 to 350 PPM, tap can still work in soil if plants look steady, but liquid nutrient programs get tighter because the base water already carries a load. Above that, or any time the meter climbs after a water softener, filtration or blending is usually kinder than hoping the plant will sort it out.
A TDS pen will not tell chlorine from chloramine. Use the utility report for that. If you later see yellowing, burnt tips, or stalled growth, the beginner guide to cannabis nutrient deficiencies is the place to match symptoms to causes. Do not treat every pale leaf as a filter failure.
When overnight sitting is enough
Overnight sitting is the right fix when three things are true. The utility uses free chlorine rather than chloramine. Your PPM is in a workable band for the medium you chose. And you are growing in soil or a soil-like mix that already contains calcium and magnesium.
Fill a wide bucket, not a narrow bottle, so more surface meets the air. Leave it uncovered in the grow room for 12 to 24 hours. A small air stone speeds the process but is optional. Warm water releases free chlorine faster than cold water. If you can still smell a strong pool odor after a full day, give it more time or switch methods. A faint smell is not a lab result, but a harsh smell after 24 hours is a hint that chloramine, or a heavy dose, may be involved.
Sitting does not lower PPM. It does not remove hardness, sodium, or metals, and it does not meaningfully change fluoride. It will not fix water from a salt-based softener. People sometimes leave water out for three days, assume it is pure, and then wonder why a white scale still forms on the pot. The scale was dissolved mineral the whole time. Air only addressed the chlorine. For one plant in a fabric pot of quality soil, this routine is often the entire water plan for a first grow. Keep the bucket clean, and avoid storing uncovered water for many days in a warm, brightly lit window where algae can start.
When a carbon filter is the better fix
Carbon is the better everyday fix when the report lists chloramine, when you cannot confirm the disinfectant, or when you mix nutrients in a reservoir that sits for days. A carbon block or catalytic carbon filter, sized for the flow you actually use, reduces chlorine and, with the right carbon and enough contact time, chloramine. A cheap jug filter may cut chlorine and improve taste while letting most chloramine pass, because chloramine needs more contact time than a fast pour provides. Read the contaminant-reduction claims instead of assuming every black cartridge is equal.
Carbon is also the sensible step when PPM is acceptable but you still want the disinfectant gone before you water living soil, coco you plan to inoculate, or any mix you are trying to keep biologically active. It does not, by itself, drop hardness the way RO or dilution does. If the problem is a very high dissolved load, a taste filter will disappoint you. Pair the tool with the problem: carbon for disinfectant, RO or blending for a heavy mineral load, and a softener bypass when sodium is the issue. An exhausted cartridge can stop doing the job you bought it for, and a neglected housing can add slime of its own. For a first grow, a countertop or under-sink carbon filter used for irrigation water is enough. You do not need a whole-house system to finish one tent.
Why unmineralized RO can stall seedlings
Reverse osmosis is excellent at one job: stripping almost everything out. A typical home unit brings water near 0 to 20 PPM. That blank slate helps later, when you want full control of a recipe in coco or hydroponics, or when tap water is genuinely too hard to use alone. It is a poor default for a first soil seedling if you pour it on straight.
Young cannabis expects a little calcium and magnesium in the water around the root. Seed-starting mixes are often light on those minerals so they do not burn a new taproot. If both the mix and the water are nearly empty, the seedling can stall just as the first true leaves should take off. The plant is not sensitive to RO as a brand of purity. It is underfed in a very clean solution, and that stall is easy to misread as a bad seed or a heavy hand with the can.
Unmineralized RO can also swing faster than tap water because almost nothing is left to buffer it. This article will not walk through adjustment steps. The practical point is narrower. If you choose RO, put a small, seedling-safe mineral base back in, often a light cal-mag rate, or blend RO with a measured share of dechlorinated tap until the pen sits in a comfortable middle band. Plain RO on a peat plug for two weeks is a common way to grow a pale, slow plant that never really starts. RO also wastes water and adds cost. Buying it only to solve chlorine is a sledgehammer on a thumbtack. Use it when the pen or the water report shows a mineral problem carbon cannot fix. If a stalled seedling needs a larger pot, fix the water first, then follow a calm transplant routine that limits seedling stress. A bigger container will not replace missing calcium.
A short decision checklist by water type
Match the water you have, not the setup in someone else’s tent. One clear choice beats a stack of half-used gadgets.
- Chlorinated tap, PPM roughly 80 to 200, soil grow: overnight sitting in a wide bucket is enough for most first plants. No RO required.
- Chlorinated tap, PPM about 200 to 350, soil: still usable. Sit out the chlorine, watch for crust and tip burn, and keep later nutrient strength modest.
- Chloramine tap at a reasonable PPM: do not rely on overnight sitting. Use catalytic or carbon-block filtration with real contact time, or a neutralizer you can dose the same way every time.
- Softened tap: bypass the softener for irrigation. Trading calcium for sodium is the wrong swap for cannabis.
- Hard tap above about 350 PPM, or unknown well water: test before you commit. Carbon will not fix hardness. Blend with RO, or use RO and add minerals back.
- Straight RO or distilled, with nothing added: a poor solo water for seedlings. Remineralize lightly or blend with clean, dechlorinated tap.
- No water report, disinfectant unknown: a carbon filter is the safer default than a bucket on the counter. Confirm PPM either way.
A first grow can run on tap water when the disinfectant is free chlorine, the dissolved load is moderate, and the medium already holds some mineral food. Filtered water is the upgrade when chloramine or uncertainty is the issue. RO is a tool for hard or problem water, not a badge of a serious grower, and using it empty is how seedlings stall. Check the report, check the pen, pick one fix, and leave the rest of the gadget shelf for later.