
Introduction to Growing Autoflowers in Soil or Coco
Autoflowering cannabis strains have transformed home cultivation by offering fast cycles and compact growth, making them ideal for indoor growers in 2026. Choosing the right medium between traditional soil and coco coir is critical for success when starting from quality autoflower seeds. This guide examines the pros and cons of each option while providing practical autoflower tips on watering, nutrients, and pH management. Beginners benefit most from understanding how these media interact with autoflowers’ rapid development. Soil offers simplicity and forgiveness, whereas coco coir delivers superior aeration and control. Both can yield impressive results indoors when setups are optimized for the current year’s best practices and equipment. For instance, a first-time grower starting with three plants can expect harvest in as little as nine weeks from seed when the medium matches the strain’s quick pace.
Expanding on these fundamentals helps new cultivators avoid common pitfalls. Soil’s natural buffering suits those who prefer minimal daily checks, while coco rewards attentive monitoring with faster root expansion. In practice, many 2026 indoor setups combine both media traits by adding perlite to either base for improved drainage. This balanced approach supports the compact stature of modern autoflowers without sacrificing yield potential.
Understanding Soil and Coco Coir Basics
Soil is a natural, organic medium composed of minerals, organic matter, and microorganisms. It supports autoflowers through slow-release nutrients and beneficial microbes that enhance root health. Many growers prefer amended soils with perlite or compost for better drainage when cultivating autoflower seeds indoors. A typical beginner mix might include equal parts high-quality potting soil, perlite, and worm castings to create a light, airy texture that prevents compaction around delicate autoflower roots.
Coco coir, derived from coconut husks, is an inert growing medium prized for its water retention and air porosity. It requires precise nutrient delivery since it contains no inherent fertility. In 2026, premium buffered coco products reduce common issues like salt buildup, making it accessible for new autoflower enthusiasts. Growers often rinse and buffer new coco bricks with a calcium-magnesium solution before use to stabilize pH and prevent early deficiencies during the critical first three weeks of growth.
Pros and Cons of Soil for Autoflowers
Soil provides a forgiving environment that buffers pH fluctuations, reducing the risk of nutrient lockout in autoflowers. Its microbial life promotes robust root systems and can improve terpene profiles in the final harvest. Beginners often succeed faster with soil because it requires less frequent intervention. In a real-world example, an indoor grower using living soil amended with compost tea every two weeks can maintain healthy plants with only weekly pH checks, allowing more focus on training techniques like low-stress training during the short vegetative window.
However, soil drains more slowly and can lead to overwatering if not managed carefully. It is heavier, complicating indoor setups, and may harbor pests if sourced poorly. Recovery from mistakes takes longer compared to inert media. To mitigate overwatering risks, experienced cultivators lift pots daily to gauge weight and water only when the container feels noticeably lighter, typically every three to four days in three-gallon fabric pots.
- Pros: Natural nutrients, pH stability, microbial benefits
- Cons: Slower drying, potential compaction, heavier containers
Pros and Cons of Coco Coir for Autoflowers
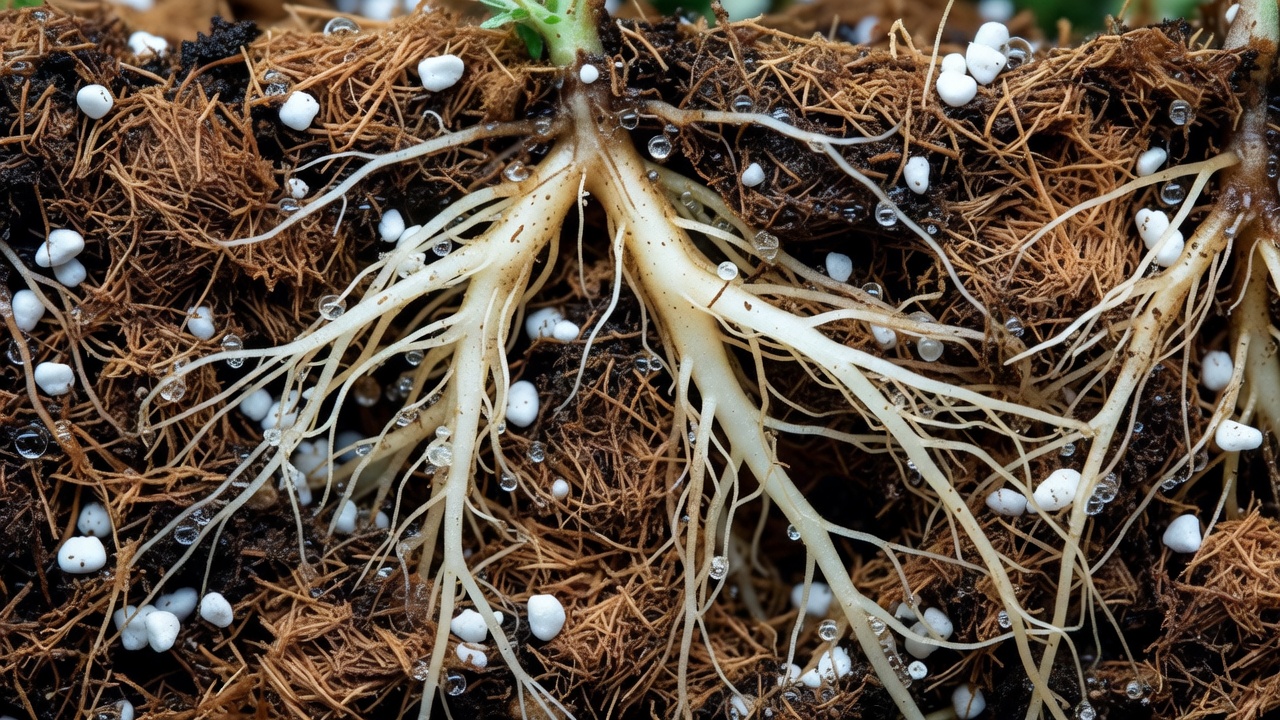
Coco coir excels in oxygenation and drainage, encouraging explosive root growth in autoflowers. It allows precise control over nutrients and pH, often resulting in faster vegetative development and higher yields. The medium is lightweight and reusable after proper sterilization. A practical demonstration involves transplanting seedlings directly into five-gallon fabric pots of buffered coco, where roots can fill the container within four weeks under 20 hours of daily light, leading to denser bud sites at harvest.
Drawbacks include the need for constant nutrient feeding and vigilant pH monitoring. Unbuffered coco can bind calcium and magnesium, causing deficiencies. It also dries out quicker at the surface, demanding consistent watering schedules. Growers counter this by maintaining a reservoir of pre-mixed nutrient solution at the correct strength and checking runoff EC after each feed to ensure salts have not accumulated beyond 1.2 mS/cm during early flowering.
- Pros: Excellent aeration, fast growth, easy to flush
- Cons: Requires daily feeding, initial buffering needed
Watering, Nutrients, and pH Management Tips
Watering autoflowers in soil should follow a wet-dry cycle, allowing the top inch to dry between sessions to prevent root rot. Use pH-adjusted water between 6.0 and 7.0. In coco coir, maintain a tighter pH range of 5.8 to 6.2 and water more frequently with nutrient solution. A concrete example is using a moisture meter probe inserted four inches deep; when readings drop below 40 percent in soil, apply 20 percent of pot volume in water, ensuring even saturation without pooling at the base.
Nutrient schedules differ significantly. Soil growers can rely on organic amendments like worm castings for autoflowers, applying liquid feeds only during flowering. Coco requires full hydro-style nutrients from week one, starting at half strength to avoid burn. Monitor EC levels closely in coco for optimal uptake. During the transition to flower around week four, soil growers might top-dress with a bloom booster containing higher phosphorus, while coco users increase potassium levels gradually to 1.0 EC, always flushing with plain pH-adjusted water every 10 to 14 days to reset the medium.
Authoritative guidance on safe nutrient practices can be found at https://extension.psu.edu/. Always flush media periodically to prevent salt accumulation, especially in 2026’s advanced LED environments that accelerate transpiration. Consistent record-keeping of feed amounts and plant responses helps refine techniques across multiple grows.
Recommended Indoor Setup for Beginners in 2026
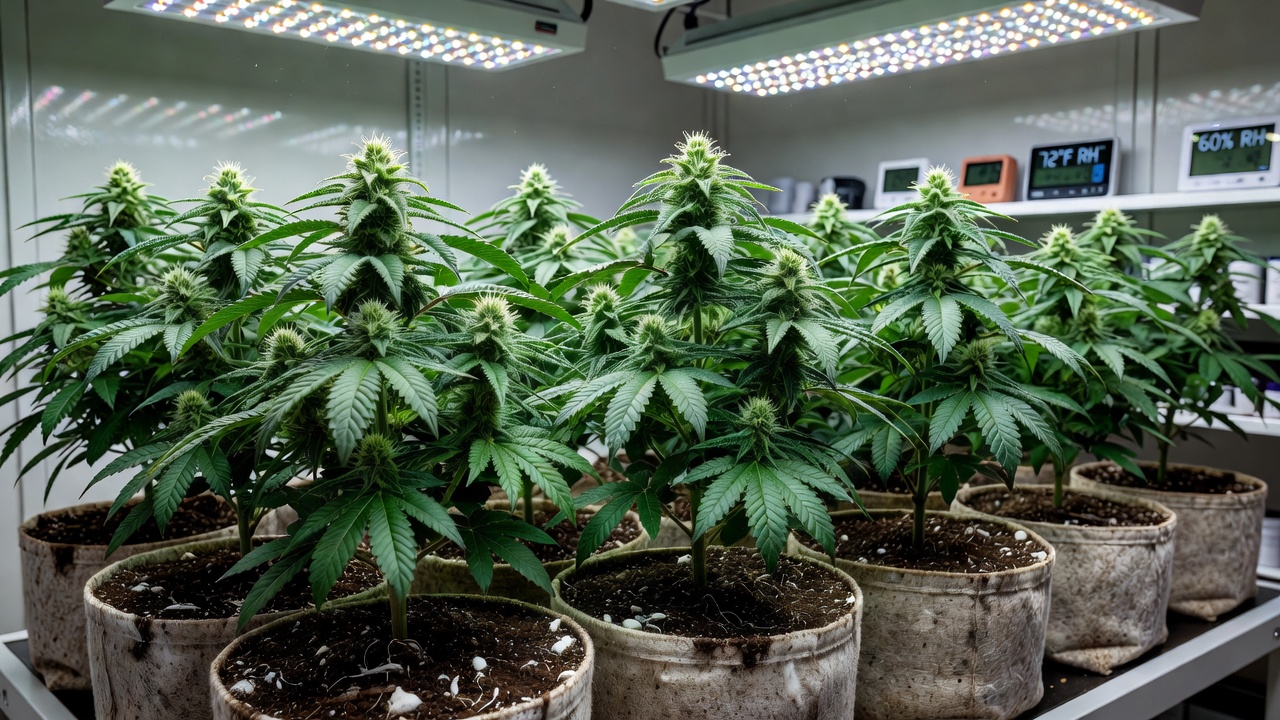
Start with 3-5 gallon pots for soil or 5-gallon fabric pots for coco to accommodate autoflower root expansion. Pair with 18/6 or 20/4 lighting schedules using full-spectrum LEDs. Maintain temperatures at 68-77°F and humidity at 50-60% during vegetative stages. A practical beginner configuration includes two 100-watt quantum-board LEDs suspended 18 inches above three plants in a 2×2 foot tent, with an oscillating fan providing gentle airflow to strengthen stems without stressing the rapid autoflower cycle.
Invest in a quality pH meter and EC pen regardless of medium. Beginners should begin with pre-buffered coco or living soil mixes to simplify the learning curve. Ventilation with carbon filters ensures odor control and fresh air exchange for healthy autoflower growth. Adding a small dehumidifier during the final two weeks helps maintain 45 percent humidity, reducing mold risk on dense colas while preserving the terpene quality developed throughout the grow.
Conclusion and Final Recommendations
Both soil and coco coir can produce outstanding autoflower harvests when matched to your experience level and setup. Soil suits those seeking simplicity, while coco rewards growers who enjoy precision. Apply the watering, nutrient, and pH strategies outlined here to maximize results from your autoflower seeds indoors throughout 2026 and beyond. Tracking environmental data across cycles and adjusting pot sizes or light intensity based on observed growth patterns will steadily improve outcomes for any dedicated cultivator.