
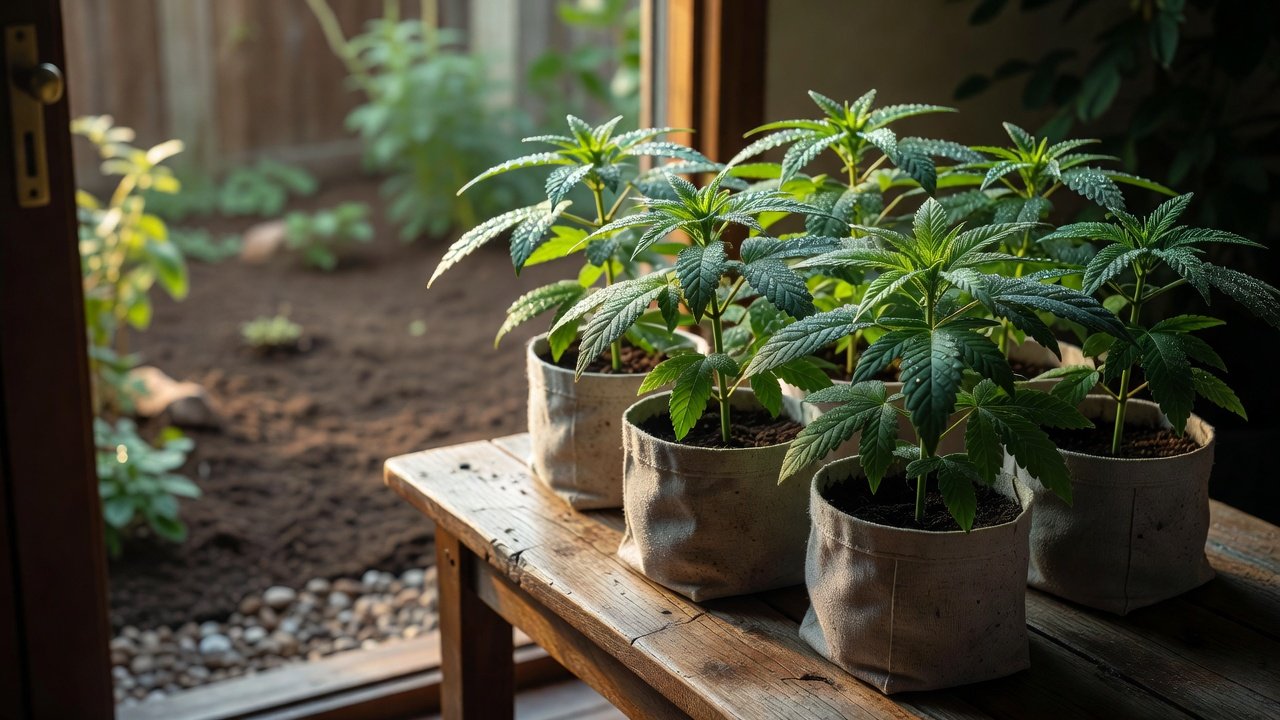
Moving cannabis from a stable indoor room into open weather is a different job from sprouting a seed or potting up under lights. Indoor leaves are built for a fixed spectrum, still air, and a pot that dries on a schedule you control. Outdoor sun, ultraviolet light, wind, and cooler nights can scald tissue, stall roots, and set the season back by weeks if you skip acclimation. This guide covers only that handoff: a 7 to 14 day hardening schedule, frost-date timing, how to open a planting hole, and first-week aftercare. It assumes the plant is already growing in a container and that you will only set it into ground you are legally allowed to cultivate, whether that is a backyard bed or another permitted outdoor plot. Germination methods and indoor pot-ups are outside this article.
Sunscald shows up fast. Upper leaves turn pale, papery, or bronze within a day or two of full midday sun, often while lower leaves still look fine. Transplant shock is slower. The plant droops and does not recover by evening, stems may flush purple from cold roots, and new nodes simply stop appearing. Both problems are common with indoor-started plants, and both are mostly preventable if you treat the move as a training period rather than a single afternoon chore.
Why indoor-started plants stall outside
Indoor cannabis often sits around 20–26°C with humidity that barely swings and light that arrives from one direction at a known intensity. Outside, leaf temperature can rise well above air temperature in direct sun, while wind strips the thin layer of moist air that normally sits on the leaf. Stomata that never had to manage that load can close. Photosynthesis drops, and the plant can look acceptable for a day before growth freezes in place.
Cold soil is the other stall. Roots started in warm indoor mix slow sharply once the root zone falls much below 15°C. Watering a cold hole with icy hose water makes it worse. A plant can have green leaves and still refuse to push new growth until the soil warms. Soft indoor stems are a third problem. They have not been flexed by wind, so a 20–30 cm plant can kink in the first gust unless you stake it for the opening week.
Hardening does not make cannabis frost-proof, and it does not replace good timing. It thickens cuticle and stem, teaches the plant to manage brighter light, and lets you catch weakness while the plant is still in a pot you can carry back inside.
Time the move from frost dates, not the calendar
Do not start hardening because a seed packet or a social post says spring has arrived. Start from your local last-frost window and the forecast in front of you. The National Weather Service publishes local forecasts and frost advisories at weather.gov, and the USDA Plant Hardiness Zone Map at planthardiness.ars.usda.gov shows how late cold usually lingers where you live. Treat the average last frost as a planning line, then wait for a run of nights that stay above about 10°C before the plant sleeps outside.
Count backward from the day you hope to plant. If the outdoor stretch you want is 14 days long, begin the shade routine only when you can see two weeks of improving weather. A late cold snap means you pause. Bring pots back indoors or onto a protected porch rather than “toughening” them through a freeze. Cannabis is not frost-tolerant. One night near 0°C can kill tender growth even if the plant looked ready the afternoon before.
Northern growers with a short outdoor season should pair this timing with genetics that finish before autumn cold, instead of forcing a long-season plant into a late transplant. Choosing fast-flowering cannabis strains for northern outdoor growing matters more than rushing a tender plant into cold soil. If nights are still dropping into single digits, keep hardening to daylight hours only. Overnight outdoor time is the last privilege you grant, not the first.
A 7–14 day hardening schedule
Use 7 days only if the plant is already stocky, the forecast is mild, and daytime highs are settling in the high teens or low twenties Celsius. Stretch to 10–14 days for soft, stretchy plants, very bright climates, windy sites, or any week that still has cool nights. Keep the plant in its current pot the whole time. Do not up-pot and harden on the same day. Water the morning of each outdoor session so the root ball is moist but not soggy, and skip high-nitrogen feeds during this window. A lightly hungry plant handles stress better than a soft, overfed one.
Place the pot where you can watch it. A bright porch, the east side of a shed, or open shade under a tree is better than a dark garage. Bring it in if leaves flag hard and do not perk up within an hour of shade, or if a storm, hail, or a sudden temperature drop is on the way.
- Days 1–2: One to two hours of morning sun or bright open shade, then back indoors. No midday sun. Expect little change. You are only introducing moving air and a higher light level.
- Days 3–4: Three to four hours, still biased toward morning. A light breeze is useful. If upper leaves pale, shorten the next session rather than pushing through.
- Days 5–7: Five to six hours, including some late-morning sun. Stake any stem that wobbles. On day 7, a tough plant in mild weather may be ready to plant. Most beginners should continue.
- Days 8–10: Full daytime outdoors in the spot’s real light, with shade cloth or a board blocking the harshest midday hour if leaves curl up like tacos. Bring pots in at night if temperatures fall below 10°C.
- Days 11–14: Leave the plant out overnight only after several mild nights are forecast. This is the graduation test. If it holds colour and turgor through a full day and a cool night, it is ready for the hole.
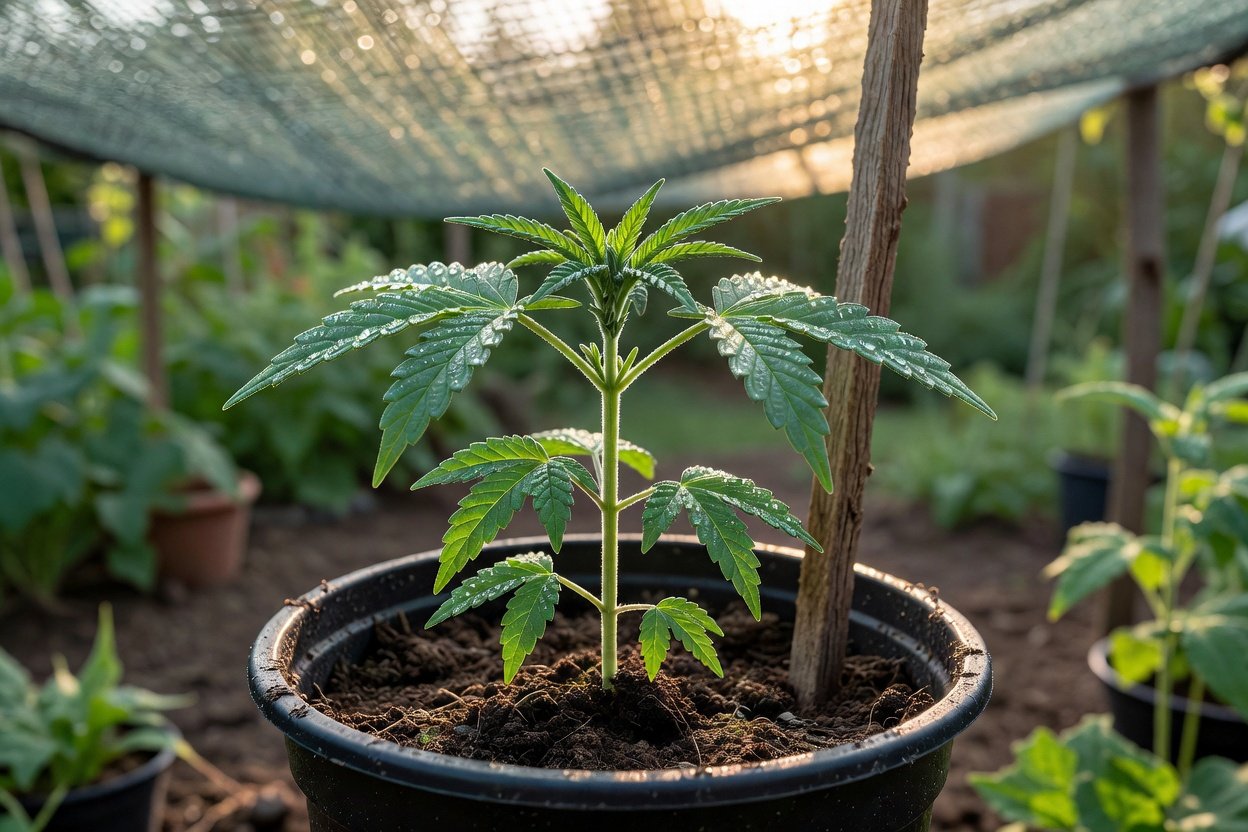
Shade cloth in the 30–40 percent range is enough for this transition. Heavier cloth keeps the plant too soft. A milk crate, lattice, or sheer curtain can stand in for a day or two, but do not rely on a closed cold frame that cooks at noon. The goal is brighter light and moving air, not a second indoor tent.
Open the planting hole before transplant morning
Dig the hole a day ahead if you can, while the plant is still finishing hardening. Make it at least twice as wide as the root ball and only a little deeper, so the stem sits at the same height it had in the pot. A wide hole lets new roots enter loosened soil instead of circling in a slick pocket. Break up the bottom so water can drain. Cannabis hates a bathtub of cold mud.
Mix a modest amount of finished compost into the backfill, not a heavy dose of hot manure or strong dry fertiliser against the roots. If your soil is tight clay, add aeration with coarse material you already trust in that bed, and mound slightly so the crown does not sit in a puddle. In very sandy ground, the opposite problem is drying out, so the wide hole and a moisture-holding mulch layer matter more than extra feed.
This is also the moment to think about the living soil around the roots, not a crash course in inoculants. A light introduction of beneficial fungi at planting can support uptake once the plant is stressed by the move. The practical details belong in the guide to mycorrhizal fungi for outdoor cannabis nutrient uptake. Do not bury a pile of uncomposted kitchen waste in the hole. It heats, then slumps, and the plant sinks with it.
Water the empty hole the day before if the surrounding soil is dust-dry, then let it drain. Planting into a bone-dry wall of soil pulls moisture out of the root ball within hours. On a remote but permitted plot, do this prep on a visit before transplant day so you are not digging, planting, and hauling water in one rushed session.
Transplant day and the first week outside
Plant in the late afternoon or on a bright overcast day, never at solar noon after a week indoors. Slide the root ball out without tearing it. If roots are circling hard, make two or three shallow vertical cuts so they can exit the ball. Set the plant level with the surrounding soil, backfill, and firm gently with your fingers so there are no air pockets. Do not stamp the soil into a brick.
Water in with room-temperature water until the backfill settles, then stop. A swamp plus cold night is a common way to stall a transplant that otherwise looked perfect. Stake immediately if the site is exposed. A single soft tie, loose enough for the stem to sway a little, builds strength without sawing the bark.
For the first three to five days, give midday shade if the sky is harsh. A scrap of cloth on the sunny side is enough. Check the plant at dusk. Leaves should have recovered from any afternoon droop. If they are still limp at night, the root ball may be dry in the middle even when the surrounding soil feels wet, or the plant may be cold. Probe with a finger beside the stem before you pour on more water.
- Days 1–3: shade at midday, steady moisture, no feed, stake checked after wind.
- Days 4–7: remove shade if colour holds, water only when the top few centimetres dry, watch for chewed leaves now that the plant is in the open.
- End of week 1: new growth at the tip, not just survival of old leaves, is the sign the move worked.
Once the surface is no longer being soaked every day, a mulch layer keeps the root zone even. How thick to lay it, and how to keep it off the stem on both backyard beds and low-profile outdoor plots, is covered in mulching techniques for outdoor cannabis. Do not mulch over a soaking-wet crown, and do not use the first week to experiment with strong bloom nutrients. The plant needs roots in the native soil before it needs a heavier feed.
Backyard aftercare is mostly observation: morning check, evening check, and a hand on the soil. On any outdoor site you visit less often, finish the hardening fully before you plant, because you cannot ferry a collapsed plant home at noon. Pre-water, shade the first harsh day, and leave enough water on site for a second watering if the weather turns hot and dry. The plant-care steps do not change with the scenery. What changes is how little room you have to correct a rushed transplant.
Know when the move has worked
A successful indoor-to-outdoor move looks boring. Colour stays even, the stem thickens, and a new set of leaves starts within the first week. Pale crispy tops mean you skipped shade. A plant that stays the same size for ten days in cold soil was planted too early, not underfed. Resist the urge to “wake it up” with a heavy nutrient dose. Warmth, time, and even moisture fix that stall more often than a bottle does.
If a late frost warning appears after planting, cover the plant before dusk with a breathable cloth that does not touch the growing tip, and remove it in the morning. Do not seal plastic against the leaves. If sunscald is already visible, leave the damaged leaves in place unless they are fully dead. They still shade the growth beneath them. New leaves formed outdoors will replace them.
Hardening is the whole skill that separates a plant that was started indoors from a plant that actually grows outdoors. Give it 7 days in easy weather or 14 days when the plant is soft or the nights are still cool. Open a wide hole, plant at the end of the day, and spend the first week on shade, water, and wind rather than on feed. Do that, and the outdoor season starts when you put the plant in the ground, not two weeks later when it finally recovers.