
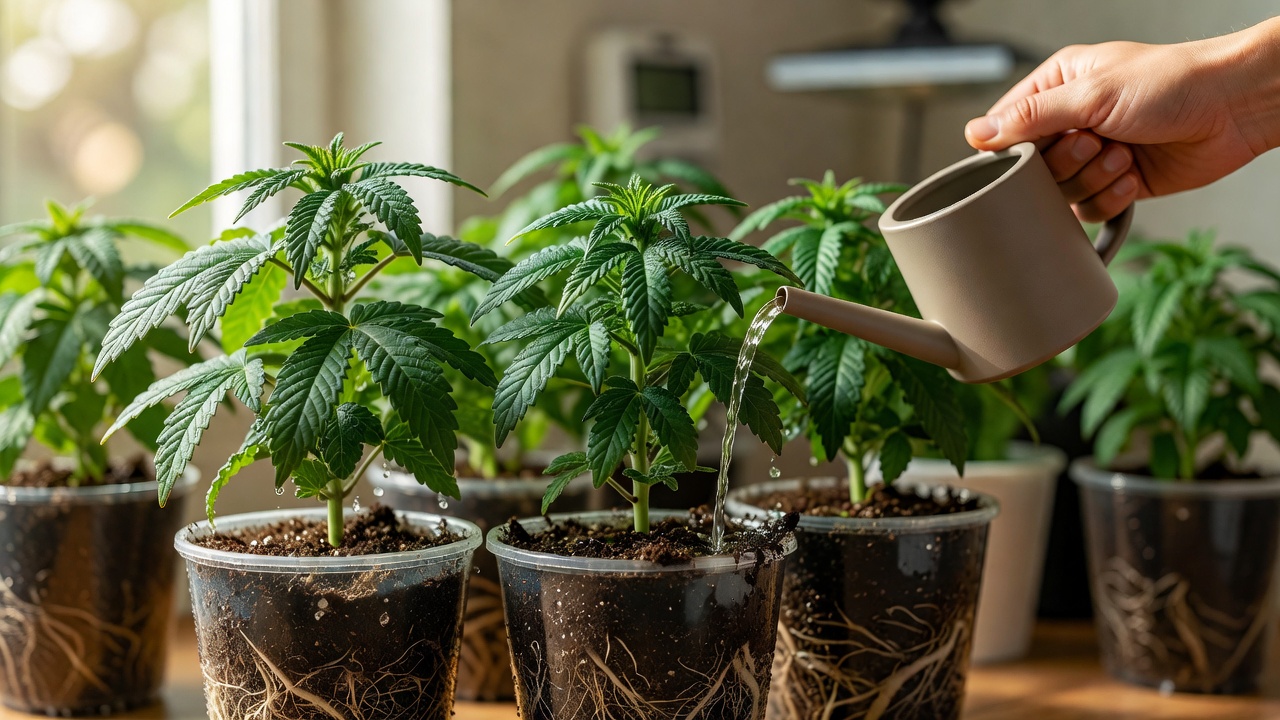
Growing autoflowers successfully starts with precise watering practices that protect against root rot while supporting rapid development. In 2026, home growers seeking to grow autoflowers benefit from understanding how these fast-finishing plants differ from photoperiod varieties. Proper moisture management directly influences nutrient uptake, prevents disease, and boosts final yields. This guide delivers practical autoflower tips tailored to both soil and hydro setups.
Understanding Autoflower Water Requirements
Autoflowering cannabis plants complete their life cycle in 8 to 12 weeks, demanding consistent but not excessive moisture. Their smaller root systems make them sensitive to waterlogged conditions that foster root rot. Always allow the top inch of soil to dry between waterings in soil grows. This approach encourages strong root expansion and prevents fungal issues common in overly damp environments.
Factors like temperature, humidity, and pot size affect watering frequency. Growers should monitor environmental conditions closely, especially during warmer months when evaporation rates increase. Using room-temperature water helps avoid shocking delicate roots. Many cultivators integrate pH testing to ensure water stays between 6.0 and 7.0 for soil or 5.5 and 6.5 for hydro systems.
Practical Monitoring Tools and Daily Routines
For concrete guidance, invest in a digital moisture meter that reads soil at multiple depths. In a typical 3-gallon fabric pot filled with a 50/50 soil-coco mix, a grower in a 75-degree room with 45 percent humidity might water every 48 hours once plants reach week three. Record daily pot weights on a simple kitchen scale; a drop of 20 percent from saturated weight signals time to water again. These autoflower tips turn guesswork into repeatable routines that stabilize growth across multiple cycles.
Recognizing Overwatering Versus Underwatering
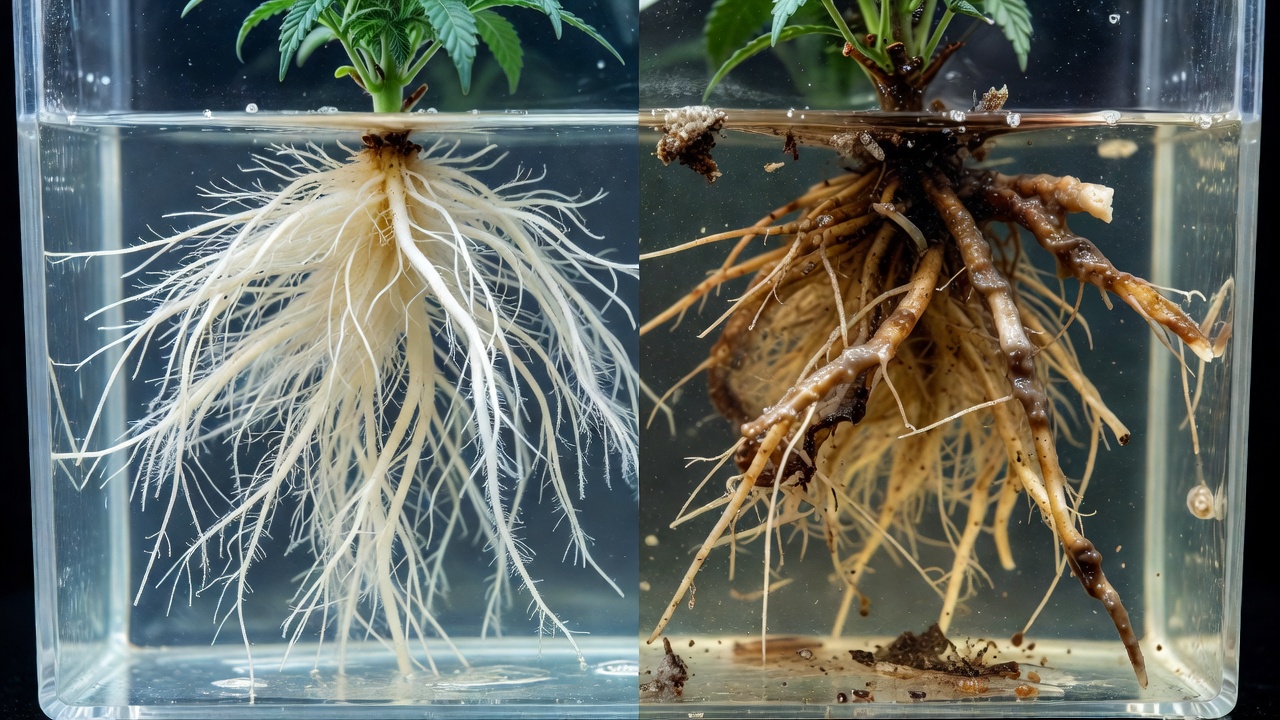
Overwatering remains one of the leading causes of root rot in autoflowers. Symptoms include yellowing leaves that curl downward, wilting despite moist soil, and a musty smell from the medium. Roots turn brown and slimy when oxygen is displaced by excess water. Immediate action involves reducing frequency and improving drainage with perlite or fabric pots.
Underwatering shows through dry, crispy leaf edges and slow growth. Plants may droop dramatically yet recover quickly after watering. To differentiate, check soil moisture at least two inches deep. A simple finger test or moisture meter provides reliable guidance. Consistent observation prevents both extremes and supports healthy development throughout the cycle.
Real-World Example of Correction
Imagine an autoflower in week five showing yellow lower leaves and a sour odor from the pot. Lift the container; it feels unusually heavy. The fix is to withhold water for three days, then resume with half-volume sessions using a mix of 30 percent perlite. Within 48 hours new growth appears vibrant, demonstrating how early intervention rescues the crop without yield loss.
Soil Growing Techniques and Schedules
Soil growers should water thoroughly until runoff appears from the pot base, then wait until the medium dries appropriately. Seedlings need only light misting every other day, while vegetative plants require watering every two to three days. Flowering autoflowers often need slightly less frequent sessions as water uptake slows near harvest.
- Use pots with ample drainage holes and a light soil mix amended with coco coir.
- Water in the morning to allow excess moisture to evaporate during daylight hours.
- Measure runoff EC levels weekly to catch salt buildup early.
These autoflower tips help maintain optimal oxygen levels around roots and reduce rot risk significantly.
Expanded Weekly Schedule with Volumes
Week one seedlings in solo cups receive 50 ml of pH-adjusted water every 48 hours. By week four in 3-gallon pots, increase to 400 ml every third day. During peak flowering, switch to 600 ml every four days while checking that the top two inches remain dry. Always water in a circular pattern around the stem base to distribute moisture evenly and avoid channeling.
Hydroponic Water Management for Autoflowers
Hydro setups demand daily monitoring of reservoir levels and oxygenation. Air stones and pumps keep dissolved oxygen high, preventing anaerobic conditions that cause root rot. Change nutrient solution every seven to ten days and maintain temperatures between 65 and 72 degrees Fahrenheit.
Seedling stage calls for lower nutrient strength and gentle circulation. As plants mature, increase flow rates gradually. Flush systems with plain pH-balanced water every two weeks during flowering. This practice clears excess salts and supports clean flavors at harvest. Reliable hydro autoflower tips emphasize regular root inspections using clear containers.
Daily Checklist for Hydro Growers
Each morning test pH and EC, top up with fresh solution if levels drop more than 10 percent, and inspect roots for slime. In a 5-gallon deep-water culture bucket, maintain 1.0 EC during vegetative weeks and drop to 0.8 EC in late flower. Replace the entire reservoir every seven days to keep dissolved oxygen above 6 ppm and prevent root browning.
Stage-Specific Adjustments From Seedling to Harvest
Seedling phase: Focus on minimal watering to encourage taproot growth. Use small containers and avoid saturation. Transition to vegetative growth by increasing volume as leaves multiply. Flowering demands careful balance, with reduced watering in the final two weeks to promote resin production.
- Seedling (weeks 1-2): Light watering every 48 hours.
- Vegetative (weeks 3-5): Full saturation every 2-3 days.
- Flowering (weeks 6-10): Adjust based on pot weight and environmental humidity.
- Flush (final 7-10 days): Plain water only to improve taste and smoothness.
These adjustments align with natural plant needs and help growers avoid common pitfalls when they grow autoflowers.
Maximizing Yields With Integrated Autoflower Tips
Combining proper watering with training techniques and quality genetics produces impressive results. Topping or low-stress training works well alongside moisture control. Track plant response in a journal to refine future cycles. Resources from USDA farming guidelines and FAO agricultural practices offer additional context on sustainable growing methods applicable to cannabis cultivation.
By 2026, many enthusiasts report higher success rates after adopting precise schedules. Healthy roots lead to vigorous plants capable of supporting dense buds without stress-related issues.
Journaling and Yield Tracking Example
Keep a notebook noting date, volume watered, pot weight before and after, leaf color, and final dry weight. One grower documented that switching from every-other-day to weight-based watering increased harvest from 42 g to 68 g per plant in identical genetics. Such data-driven refinements compound over successive cycles.
Conclusion
Effective watering forms the foundation of successful autoflower cultivation. Recognizing early warning signs, tailoring techniques to growth stages, and choosing suitable mediums empower growers to prevent root rot while achieving abundant harvests. Apply these strategies consistently for robust plants and rewarding outcomes every cycle.