
Introduction to Drying and Curing Cannabis
Harvesting your cannabis plants marks an exciting milestone for any beginner grower, but the real magic happens during the drying and curing stages. These processes transform fresh buds into smooth, flavorful, and potent flowers ready for consumption. For first-time cultivators using easy cannabis seeds, focusing on straightforward methods with minimal equipment ensures success without overwhelming complexity. In 2026, indoor setups benefit from affordable digital hygrometers, while outdoor growers can leverage natural seasonal conditions. Proper drying removes excess moisture to prevent mold, while curing enhances terpenes and cannabinoids. Rushing these steps leads to harsh smoke and reduced quality. This guide provides practical timelines tailored for home environments, helping you achieve professional results at home. Consider a concrete example where a grower using beginner autoflower seeds notices sharper flavors after extending the cure by two weeks instead of stopping early.
Understanding the science behind these stages helps beginners avoid common errors. Drying primarily evaporates water from plant material at a controlled rate, preserving trichomes that hold valuable compounds. Curing then allows residual moisture to redistribute evenly, breaking down chlorophyll that causes grassy tastes. For outdoor growers in variable 2026 weather, starting the process indoors often yields more consistent outcomes than relying solely on ambient air.
Preparing Your Space and Equipment
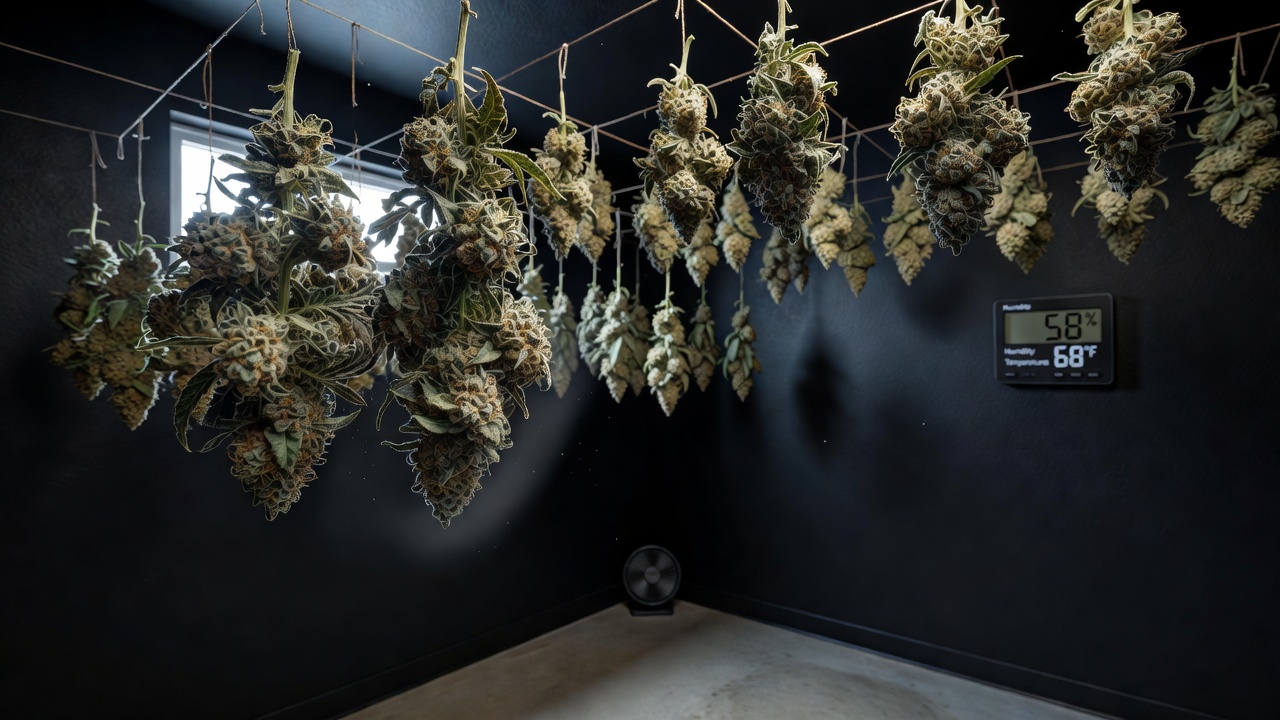
Before harvesting, set up a dedicated drying area that maintains consistent conditions. Aim for temperatures between 60-70°F (15-21°C) and relative humidity of 45-55%. Simple tools like a small fan for air circulation, dark room or closet, and basic hygrometer suffice for beginners. Avoid direct sunlight or excessive heat sources that can degrade cannabinoids. Trim large fan leaves but leave sugar leaves intact initially to protect buds during drying. For outdoor growers in 2026, consider portable drying tents if weather is unpredictable. Gather clean hangers, strings, or drying racks made from food-safe materials. This preparation phase takes just a few hours but prevents common issues later. A practical example involves converting a spare bedroom closet into a drying zone by installing two small oscillating fans on low settings and placing a digital hygrometer at bud height for accurate readings.
Choosing the Right Location
Select a space with stable conditions away from kitchens or bathrooms where humidity spikes occur. For indoor setups, a north-facing room often stays cooler. Outdoor growers might use a shaded garage during autumn months when temperatures naturally drop into the ideal range.
The Drying Process Step by Step
Hang trimmed branches upside down in your prepared space, ensuring good airflow without direct fans blowing on buds. Drying typically takes 7 to 14 days depending on bud density and environment. Smaller buds from easy cannabis seeds may finish faster, around 5-10 days. Check readiness when stems snap cleanly rather than bend. Monitor daily for signs of over-drying or mold. In humid 2026 climates, extend drying slightly with dehumidifiers if needed.
Once stems are brittle, move to curing. This gradual moisture removal preserves trichomes and prevents chlorophyll taste. For instance, a first-time grower with dense indica buds from easy seeds might find the process takes the full 14 days in a 65°F room, while lighter sativa varieties dry in nine days under identical conditions.
Monitoring Daily Progress
Inspect branches each morning and evening. Note any soft spots that need extra airflow and rotate branches to promote even drying. Beginners should keep a simple log noting daily humidity and temperature to spot trends early.
Mastering Humidity and Temperature Control
Humidity control is critical to avoid mold or overly crisp buds. Use a digital hygrometer to track levels precisely. If humidity rises above 60%, introduce gentle ventilation or silica packs temporarily. For indoor setups, smart plugs connected to fans offer automated 2026 solutions. Temperature fluctuations can stress the process, so keep spaces stable. Outdoor growers should dry in shaded, ventilated areas during cooler months. Consistent 50% humidity during drying promotes even results across batches from beginner-friendly seeds.
- Target 45-55% RH for optimal drying.
- Adjust with household items like bowls of rice for absorption.
- Log readings twice daily for the first week.
- Place a small fan on the floor to circulate air gently without direct contact.
- If RH drops below 40%, add a shallow dish of water to raise levels slightly.
The Curing Phase for Enhanced Quality
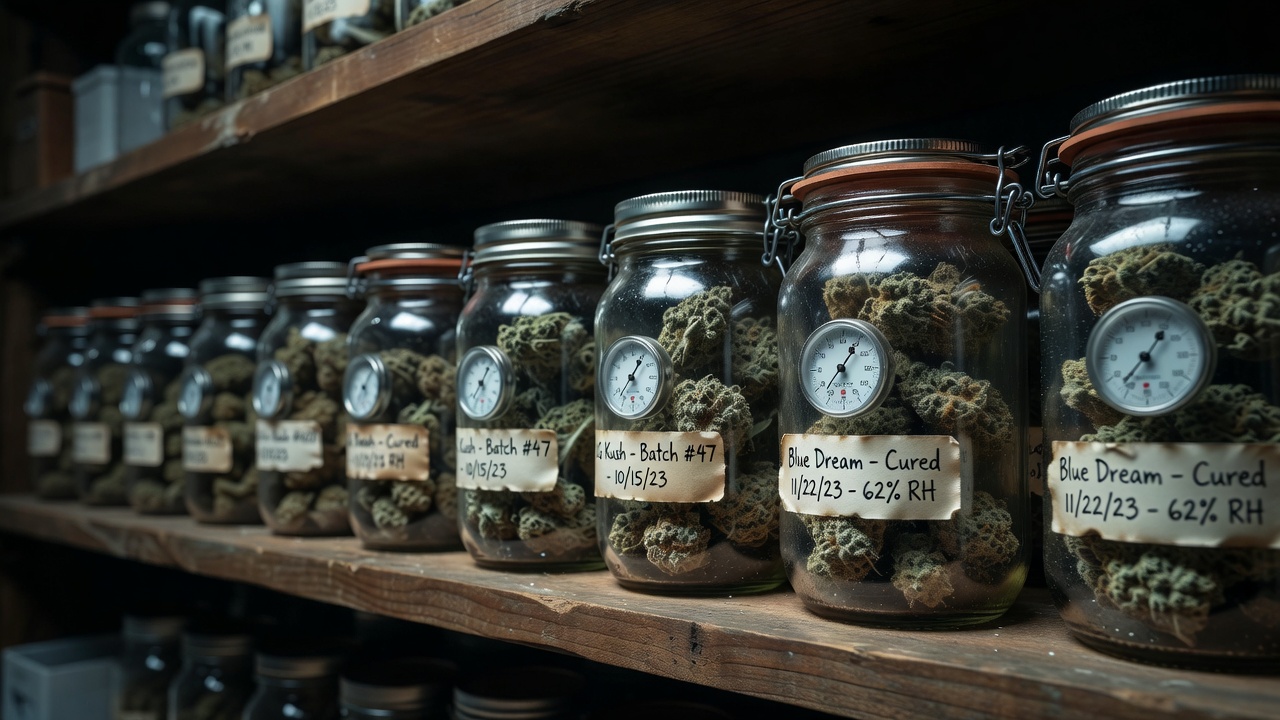
After drying, place buds in airtight glass jars, filling them three-quarters full. Burp jars daily for the first week by opening for 10-15 minutes to release moisture. Curing lasts 2 to 8 weeks, with peak flavors developing around week four. This step boosts potency and smoothness significantly. Store jars in a cool, dark place at 60-65°F. Beginners using easy cannabis seeds notice improved aroma after proper curing. Avoid plastic containers as they can impart off-flavors. Track progress by smelling buds during burping sessions. A clear example shows a grower achieving smoother smoke by burping twice daily during the first three days when moisture release is highest, then reducing to once daily.
Burping Schedule for Beginners
Week one requires daily burps. In week two, burp every other day. By week three, check jars twice weekly and adjust based on aroma strength and moisture feel.
Storage Methods and Long-Term Preservation
Once cured, transfer to opaque containers or vacuum-seal for extended storage. Ideal conditions remain below 70°F with low humidity. For 2026 growers, UV-protective jars help maintain cannabinoid levels over months. Label each batch with harvest dates for reference. Outdoor harvests may require extra attention to seasonal humidity changes. Proper storage prevents degradation, keeping your product fresh for up to a year. Re-cure if any moisture returns during checks. For example, vacuum-sealed portions stored in a basement cabinet at 62°F retained potency for nine months when checked monthly.
Common Pitfalls and How to Avoid Them
Many beginners rush drying, leading to moldy or harsh buds. Always verify stem snap test instead of guessing timelines. Over-curing in too-dry conditions strips terpenes, so monitor jar humidity with inexpensive packs. Another issue is poor airflow causing uneven drying. Use multiple small fans rather than one strong unit. For easy cannabis seeds, start with smaller harvests to refine your technique before scaling up. Learn from resources like CDC cannabis guidelines for safety practices. Consistent attention to detail yields the best outcomes. One practical case involved a grower who avoided mold by adding extra ventilation after noticing humidity spikes on day five of drying.
Conclusion
Drying and curing cannabis successfully transforms your harvest into enjoyable, high-quality buds. With simple equipment and attention to humidity, beginners achieve smooth results quickly. Follow the timelines and tips outlined for reliable 2026 growing seasons, whether indoors or out. Practice refines your skills, leading to consistently potent flowers from easy cannabis seeds. Tracking each batch’s conditions builds valuable experience that improves future harvests dramatically.