
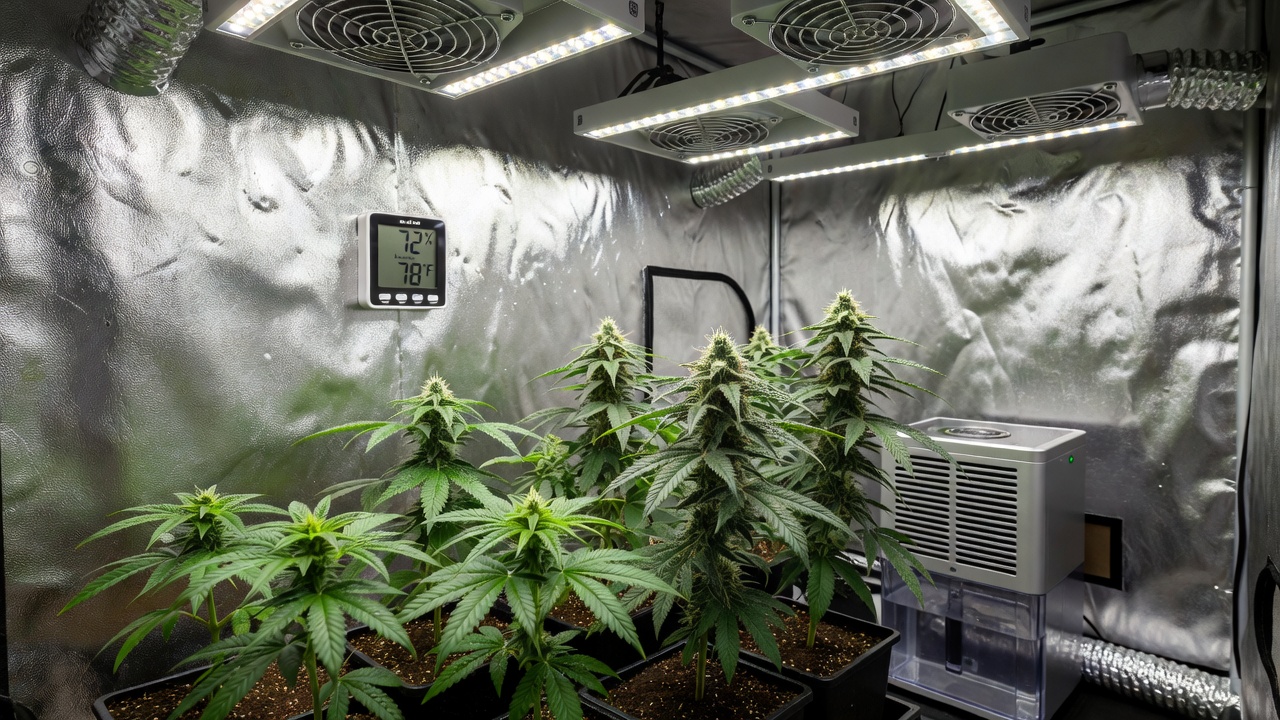
Introduction to Humidity Management in Autoflower Cultivation
Growing autoflowers successfully requires precise environmental control, and humidity stands out as one of the most critical factors. Unlike photoperiod strains, autoflowering cannabis completes its cycle quickly, often in 8-10 weeks, making every stage sensitive to fluctuations in moisture levels. Proper humidity management prevents common issues like mold and bud rot while supporting robust growth and higher yields. Whether cultivating indoors under lights or outdoors in variable weather, understanding vapor pressure deficit (VPD) helps optimize transpiration and nutrient uptake. For instance, a grower in a small apartment tent might see yields drop by 20% from unchecked humidity swings during the rapid flowering window.
Home growers in 2026 benefit from affordable tools that simplify these adjustments. This guide covers essential techniques for both environments, including practical tips on equipment and troubleshooting. By maintaining ideal conditions, you can avoid pitfalls that reduce potency or harvest quality with autoflower seeds. Concrete examples include using a basic hygrometer to catch early spikes that could otherwise invite powdery mildew in week six.
Understanding Optimal VPD Ranges for Autoflowers
VPD measures the difference between moisture in the air and the plant’s leaves, directly influencing how autoflowers absorb water and nutrients. Ideal VPD ranges vary by growth stage: seedlings prefer 0.4-0.8 kPa to encourage root development without stress, while vegetative plants thrive at 0.8-1.2 kPa for steady leaf expansion. During flowering, aim for 1.0-1.5 kPa to reduce mold risk as dense buds form. A practical example is a 4-week-old autoflower in a 2×2 tent where keeping VPD at 1.1 kPa supports thicker stems without over-transpiration.
Too low VPD leads to slow growth and weak stems, whereas high values cause wilting and nutrient burn. Autoflowers, with their compact size, respond faster to imbalances than larger plants. Monitor leaf temperature alongside room humidity for accurate calculations, as leaf surfaces often run 1-2°C cooler than ambient air. Growers can use an infrared thermometer for leaf readings and adjust room humidity by 5% increments to hit target VPD.
Calculating VPD in Practice
To calculate VPD, subtract the saturation vapor pressure at leaf temperature from the actual vapor pressure in the air. Many digital devices automate this, but manual checks with charts help during power outages. For a room at 24°C and 50% RH with leaves at 22°C, VPD typically lands near 1.2 kPa—ideal for mid-flower.
Essential Monitoring Tools and Techniques
Reliable monitoring forms the foundation of effective humidity control. Digital hygrometers with VPD calculators provide real-time data, while advanced smart sensors integrate with apps for alerts. Place devices at canopy level and in multiple zones for indoor setups to capture microclimate variations. A common setup uses three sensors: one at the top of the canopy, one near the floor, and one outside the tent for comparison.
Outdoors, portable weather stations track humidity trends alongside temperature and dew point. Calibrate tools monthly and log readings daily to spot patterns early. Combining these with visual plant inspections ensures autoflowers stay healthy throughout their rapid lifecycle. For example, daily logs might reveal that evening humidity rises 15% after sunset, prompting earlier fan activation.
Recommended Devices and Logging Methods
- Entry-level: Govee or Inkbird hygrometers with Bluetooth logging.
- Advanced: SensorPush units paired with phone alerts for VPD thresholds.
- Outdoor: AcuRite weather stations mounted at plant height.
Indoor Humidity Management Strategies
Indoor environments demand active intervention to maintain stability. Start with a quality exhaust fan paired with intake vents for consistent air exchange, targeting 20-30% humidity reduction per hour during lights-on periods.
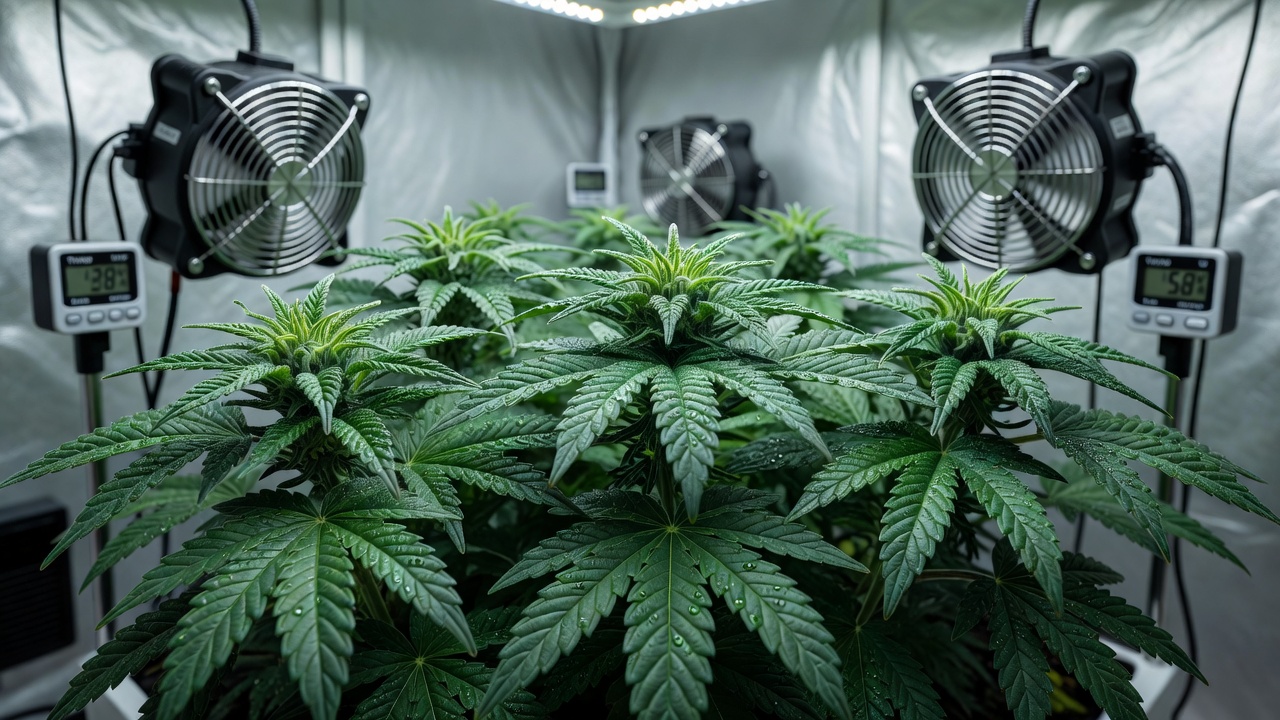
Dehumidifiers sized for your grow space, such as 30-70 pint units for small tents, efficiently pull excess moisture without over-drying. In a 3×3 tent example, running a 50-pint dehumidifier on a 30-minute cycle every two hours keeps RH stable during lights-off.
Position oscillating fans to promote even airflow across leaves, preventing stagnant pockets where mold spores settle. Use humidifiers sparingly in early stages if ambient air is too dry, and always pair with timers. Seal grow areas properly to avoid external humidity spikes from household activities. Additional guidance includes placing fans 30 cm above the canopy angled downward to create gentle turbulence without stressing young leaves.
Outdoor Considerations and Adjustments
Outdoor autoflower grows face unpredictable weather, requiring proactive site selection and protective measures. Choose locations with good natural ventilation, such as elevated spots away from low-lying damp areas. Raised beds or containers improve drainage to counter soil moisture that elevates local humidity. A raised bed with 30 cm of gravel base, for instance, can lower surrounding RH by 10% compared to ground-level planting.
During rainy seasons, deploy portable dehumidifiers in temporary enclosures or use rain covers that allow airflow. Monitor forecasts closely and adjust by pruning lower foliage to enhance circulation. These steps help autoflowers withstand humidity swings common in temperate climates while preserving resin production. Growers in humid regions often prune the bottom third of foliage by week five to maintain airflow.
Stage-Specific Adjustments Across the Grow Cycle
Seedling and early vegetative phases benefit from higher humidity around 60-70% to support delicate roots and leaves. Transition to 50-60% in mid-veg for stronger stems, then drop to 40-50% in flowering to safeguard against gray mold. Autoflowers flower on a fixed schedule, so plan reductions around week 4-5 from sprout. Watering schedules influence humidity too—water in the morning to allow evaporation before nightfall.
In late flowering, further reduce to 35-45% while increasing airflow. These targeted changes maximize terpene development and prevent common autoflower stressors like hermaphroditism triggered by environmental shock. An example schedule for an 9-week strain: weeks 1-2 at 65% RH, weeks 3-4 at 55%, weeks 5-7 at 45%, and weeks 8-9 at 40%.
Weekly Humidity Targets
- Weeks 1-2 (seedling): 60-70% RH, VPD 0.4-0.8 kPa.
- Weeks 3-4 (veg): 50-60% RH, VPD 0.8-1.2 kPa.
- Weeks 5-7 (flower): 40-50% RH, VPD 1.0-1.5 kPa.
- Weeks 8-10 (late flower): 35-45% RH, VPD 1.2-1.5 kPa.
Troubleshooting Common Humidity Issues
Excessive humidity often manifests as yellowing leaves or powdery mildew; counter it by boosting ventilation and adding silica supplements for plant resilience. Low humidity causes crispy edges—remedy with gentle misting or humidifier use during lights-off. Check for equipment failures like clogged filters that reduce dehumidifier efficiency. For outdoor problems like sudden rain-induced spikes, relocate plants temporarily or apply organic fungicides as prevention. Regular cleaning of fans and surfaces eliminates spore buildup. Consistent record-keeping helps refine your approach for future autoflower cycles, leading to consistently higher yields.
Quick Reference Fixes
- High RH with mildew: Increase exhaust by 20%, add silica at 1 ml per liter.
- Low RH with crispy tips: Run ultrasonic humidifier 2 hours nightly.
- Stagnant air: Add two more oscillating fans at canopy height.
Conclusion
Effective humidity management unlocks the full potential of autoflowers by balancing growth speed with disease prevention. Implementing VPD awareness, reliable tools, and stage-tuned strategies ensures healthy plants whether indoors or out. With attention to ventilation, dehumidification, and quick troubleshooting, home growers achieve superior results and robust harvests season after season. Tracking one full cycle with detailed notes often reveals patterns that boost future yields by 15-25%.