
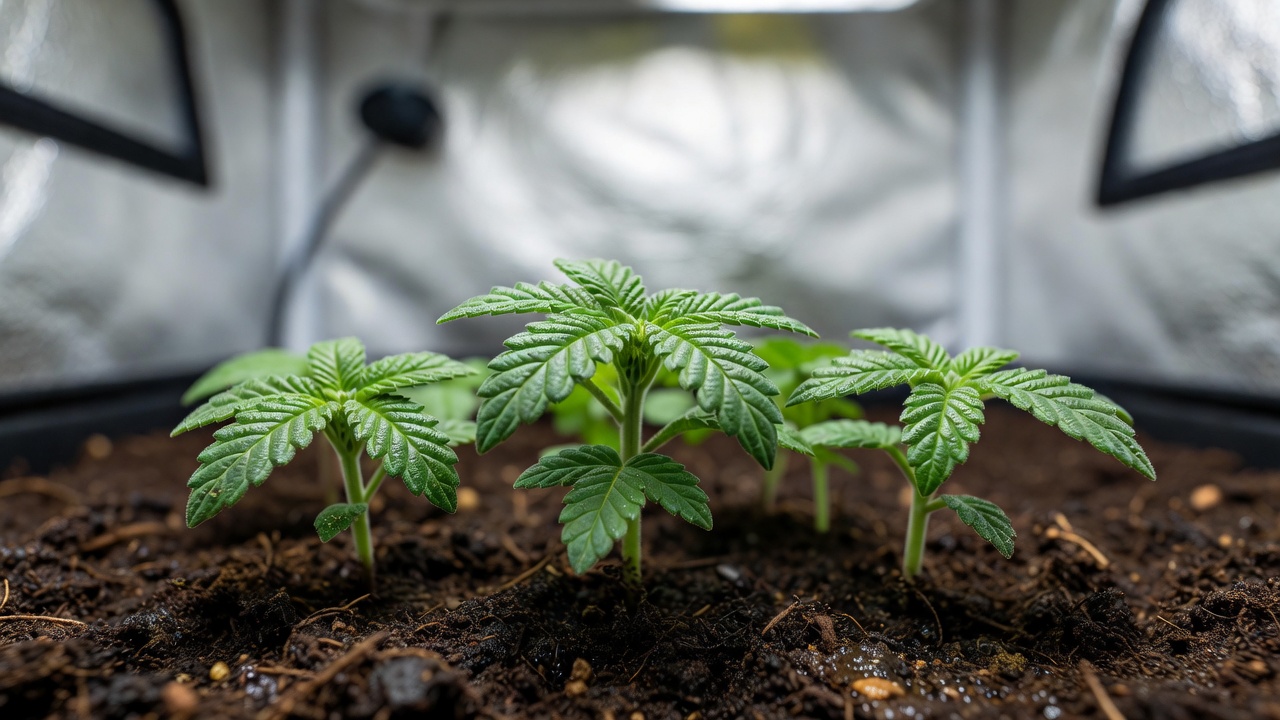
Introduction to Autoflower Seed Germination
Autoflower cannabis seeds have become a favorite among home growers due to their fast life cycles and resilience. Unlike photoperiod strains, autoflowers transition to flowering automatically, making them ideal for beginners and those seeking quick 2026 harvests. Successful germination is the foundation of healthy plants, and proven methods like the paper towel technique, direct soil planting, and the water glass method deliver high success rates when executed correctly. For example, many indoor growers report 90 percent sprout rates with the paper towel approach when temperatures stay steady at 75°F and humidity hovers near 75 percent. Proper germination minimizes stress on delicate seedlings. Factors such as temperature, moisture, and timing play critical roles. This guide covers step-by-step instructions, optimal conditions, common pitfalls, and the transition into the first week of vegetative growth. By following these practices, enthusiasts can achieve robust plants ready for abundant yields. Concrete guidance includes starting with fresh seeds no older than 12 months and labeling every batch with the exact start date.
Autoflowers typically finish from seed to harvest in 8 to 10 weeks, so timing germination in early spring or under controlled indoor lights sets the stage for multiple cycles per year. Always source seeds from reputable banks that provide germination guarantees to reduce early losses.
Preparing Your Workspace and Materials
Before starting any germination method, gather high-quality autoflower seeds from reputable suppliers. Work in a clean, sterile environment to prevent contamination. Use distilled or filtered water, as tap water may contain chemicals that hinder sprouting. Maintain room temperatures between 70-80°F (21-27°C) for best results. Practical examples include setting up a dedicated germination station on a kitchen counter away from direct sunlight and using a small digital thermometer to monitor conditions hourly during the first 48 hours.
Essential tools include tweezers, paper towels, small containers, and pH-balanced water around 6.0-7.0. Sterilize all surfaces and tools with isopropyl alcohol. Good preparation reduces failure rates and sets the stage for vigorous seedlings. Always handle seeds gently to avoid damaging the protective shell. Growers who prepare 10 seeds at once often keep extra sterile containers ready in case one batch needs separation due to uneven moisture levels.
Paper Towel Method for Reliable Results
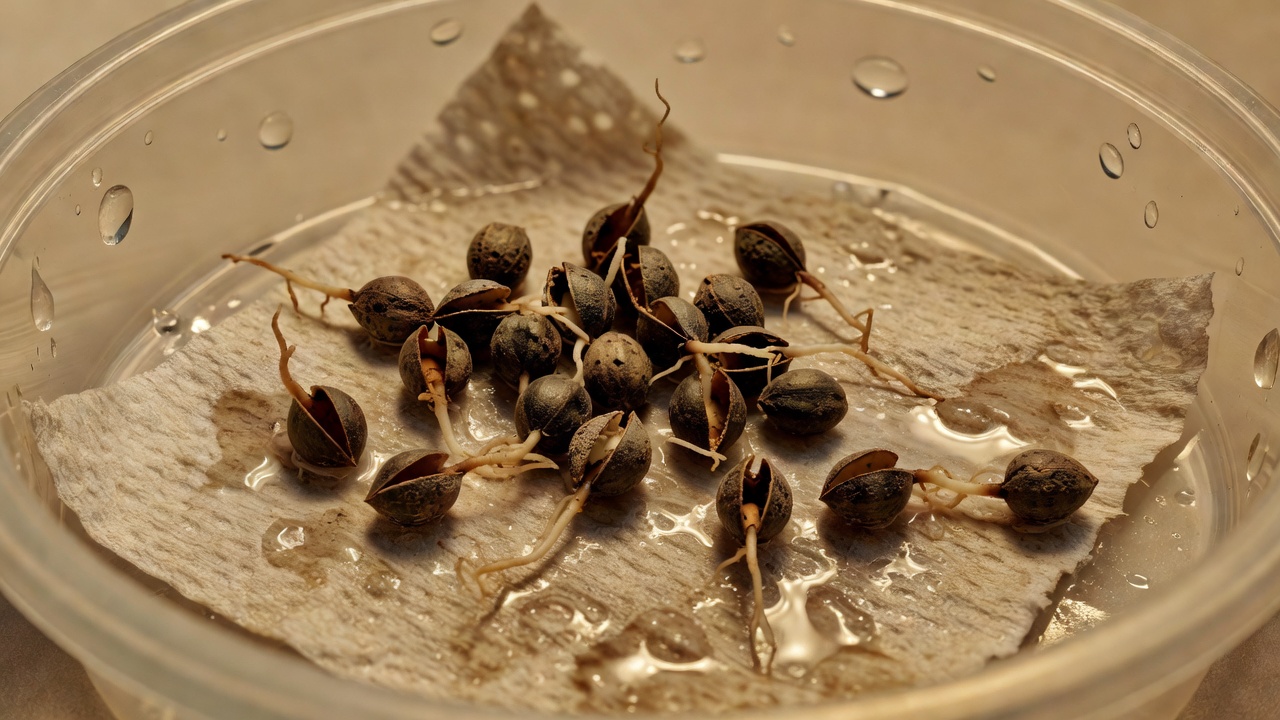
The paper towel method remains one of the most popular and effective techniques for germinating autoflower seeds. Begin by moistening two paper towels with room-temperature water, ensuring they are damp but not dripping. Place seeds between the towels and fold them into a sandwich. A concrete tip is to use unbleached, non-quilted paper towels to avoid chemical residues that can slow sprouting.
Put the setup inside a sealed plastic bag or container to retain humidity. Store it in a warm, dark location. Check daily for signs of sprouting, which typically occurs within 24-72 hours. Once the taproot emerges to about 1/4 inch, carefully transfer the seed to soil using tweezers. This method offers high visibility and control over moisture levels. It suits growers who want to monitor progress closely. For autoflowers, avoid leaving seeds in paper towels longer than five days to prevent root entanglement. In practice, many hobbyists place the bag on top of a router or seedling heat mat set to 75°F for consistent warmth without hot spots.
Direct Soil Planting Technique
Direct soil germination reduces transplant shock, making it excellent for autoflowers that dislike root disturbance. Fill small pots with light, aerated seed-starting mix. Create a shallow hole about 1/4 inch deep and place the seed inside. A practical example is using 4-inch biodegradable pots filled with a 50/50 mix of coco coir and perlite to ensure excellent drainage from day one.
Cover lightly with soil and water gently to keep the medium moist. Maintain consistent humidity by covering pots with a dome or plastic wrap until sprouting. Temperatures should stay steady at 75°F. Seedlings usually emerge in 3-7 days. This approach mimics natural conditions and promotes strong root development from the start. Use pots that allow easy later transplanting without tearing roots. Monitor moisture closely to avoid overwatering young plants. Experienced growers often mist the soil surface twice daily rather than pouring water, keeping the top inch evenly damp without saturation.
Water Glass Technique Explained
The water glass method is simple and effective for older or harder-shelled autoflower seeds. Fill a glass with lukewarm water and drop in the seeds. Let them soak for 12-24 hours until they sink or show a cracked shell. Do not exceed 48 hours to prevent drowning. Once soaked, move seeds to a paper towel setup or directly into soil for the next stage. This technique softens the seed coat and kickstarts the germination process quickly. Combine it with other methods for stubborn seeds. Always use clean water and discard any that float after 24 hours, as they may not be viable.
Optimal Temperature, Moisture, and Timing
Consistent warmth around 75°F promotes enzyme activity for sprouting. Use seedling heat mats if ambient temperatures fluctuate. Moisture must remain even but never waterlogged, as excess leads to rot. Aim for 70-80% relative humidity during germination. A clear example is placing a small hygrometer inside the germination container and adjusting by opening the lid briefly if humidity climbs above 85 percent.
Timing varies by method but expect visible roots or shoots in 1-5 days. For 2026 harvests, start germination in early spring or controlled indoor setups. Track progress daily and adjust conditions promptly to avoid delays. Growers who log daily notes on temperature swings often achieve more uniform sprout times across batches.
Common Mistakes and How to Avoid Them
Overhandling seeds or exposing them to light too early causes stress. Avoid extreme temperatures below 65°F or above 85°F. Using unsterilized tools introduces pathogens that kill fragile sprouts. Another frequent error is inconsistent moisture, leading to dried-out or drowned seeds. Always label batches and record start dates. Patience is key—rushing the process harms success rates. Concrete guidance includes never squeezing seeds between fingers and instead using tweezers for every transfer to keep damage near zero.
Transitioning Seedlings into the First Week
Once sprouted, move seedlings under gentle LED lights at 18-24 inches distance. Provide 18-24 hours of light daily for autoflowers. Water sparingly with pH-balanced solution when the top soil dries. Watch for yellowing or stretching, which signals adjustments needed. By day seven, plants should show true leaves and be ready for light feeding. This careful transition builds resilience for the entire grow cycle. In practice, start with quarter-strength nutrients on day six and increase gradually only after the second set of true leaves appears.
Conclusion
Mastering these germination methods ensures strong starts for autoflower plants and bountiful 2026 harvests. Focus on clean practices, precise conditions, and minimal stress. With attention to detail, home growers can enjoy reliable results year after year. For further reading on best practices, consult resources from usda.gov and epa.gov. Keeping a simple journal of each germination run helps refine techniques over multiple seasons.